Ubuntu Server Provisioning
Learn how to provision an Ubuntu Server from scratch.

In this post, you will learn how to install an Ubuntu Server. We're going to focus on 24.04 but the same principles can be used on 22.04.
What is Ubuntu?
Ubuntu is an operating system like Microsoft Windows or Apple macOS. It's developed largely by community contributions. The "class" of operating system is "Linux." It's free to use.
Why Ubuntu?
Ubuntu has been around for a long time and is used widely by software providers. For example, if you want to run a Personal Data Server or PDS for Blue Sky, or a SimpleX relay server, or a web server, typically you'll find directions on using Ubuntu. Ubuntu is based on Debian Linux and it has support through Canonical. There are versions of it for use in FedRAMP, FIPS compliant versions or Criminal Justice Information Systems, HIPAA compliant versions, etc. It's fairly easy to use because of the wide support.
Linux users will fight you in a dark alley in support of their favorite distributions. What you use is largely dictated by what you're trying to achieve. If you're into large scale data centers, you might use RedHat or Fedora. If you're reading this, you'll be using Ubuntu.
LTS vs Non-LTS
LTS is Long Term Support. It holds off on introducing new ways of doing things and will use a set standard for a longer period of time while still receiving security updates. When you're setting up any server that has a defined job, you will want to use the LTS version.
Check out the Ubuntu release cycles here.
How do I get Ubuntu?
If you went the route of using a Virtual Private Server (VPS) through something like Digital Ocean. You're going to be able to select it during the checkout process. it'll likely come with some pre-configuration and you won't have to go through a setup process.
If you're installing it directly on a host or using something like the Ionos Data Center Designer, You're going to install it directly on a host and will have to go through the setup screens.
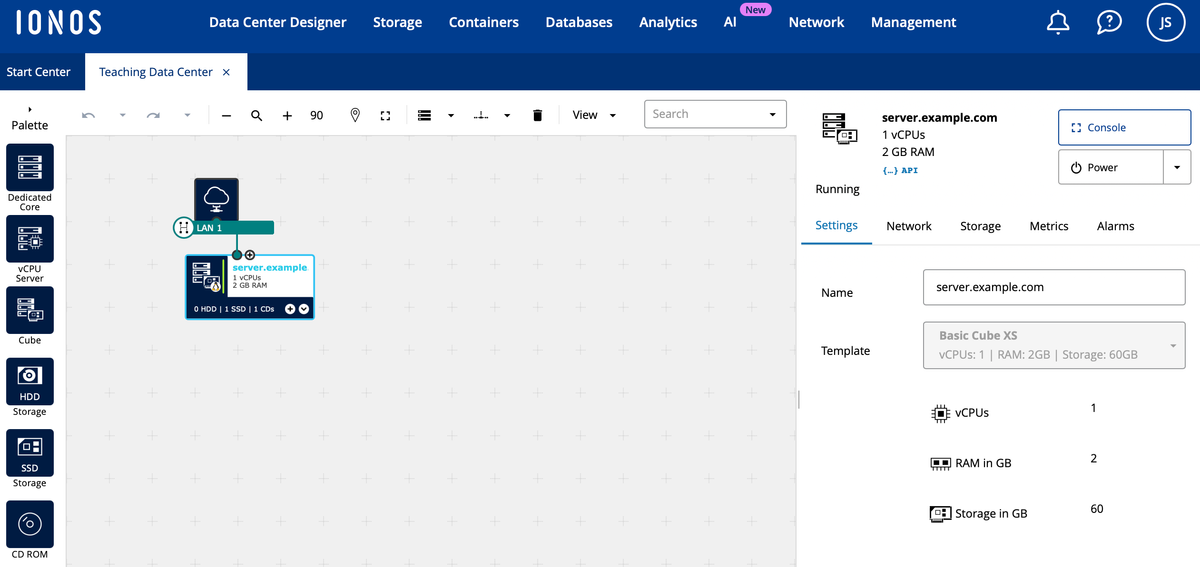
Here are the screens to install Ubuntu 24.04 on a virtual private server.
You can use your arrow keys to navigate. You can use enter to select an option.
After booting you will need to choose your language.
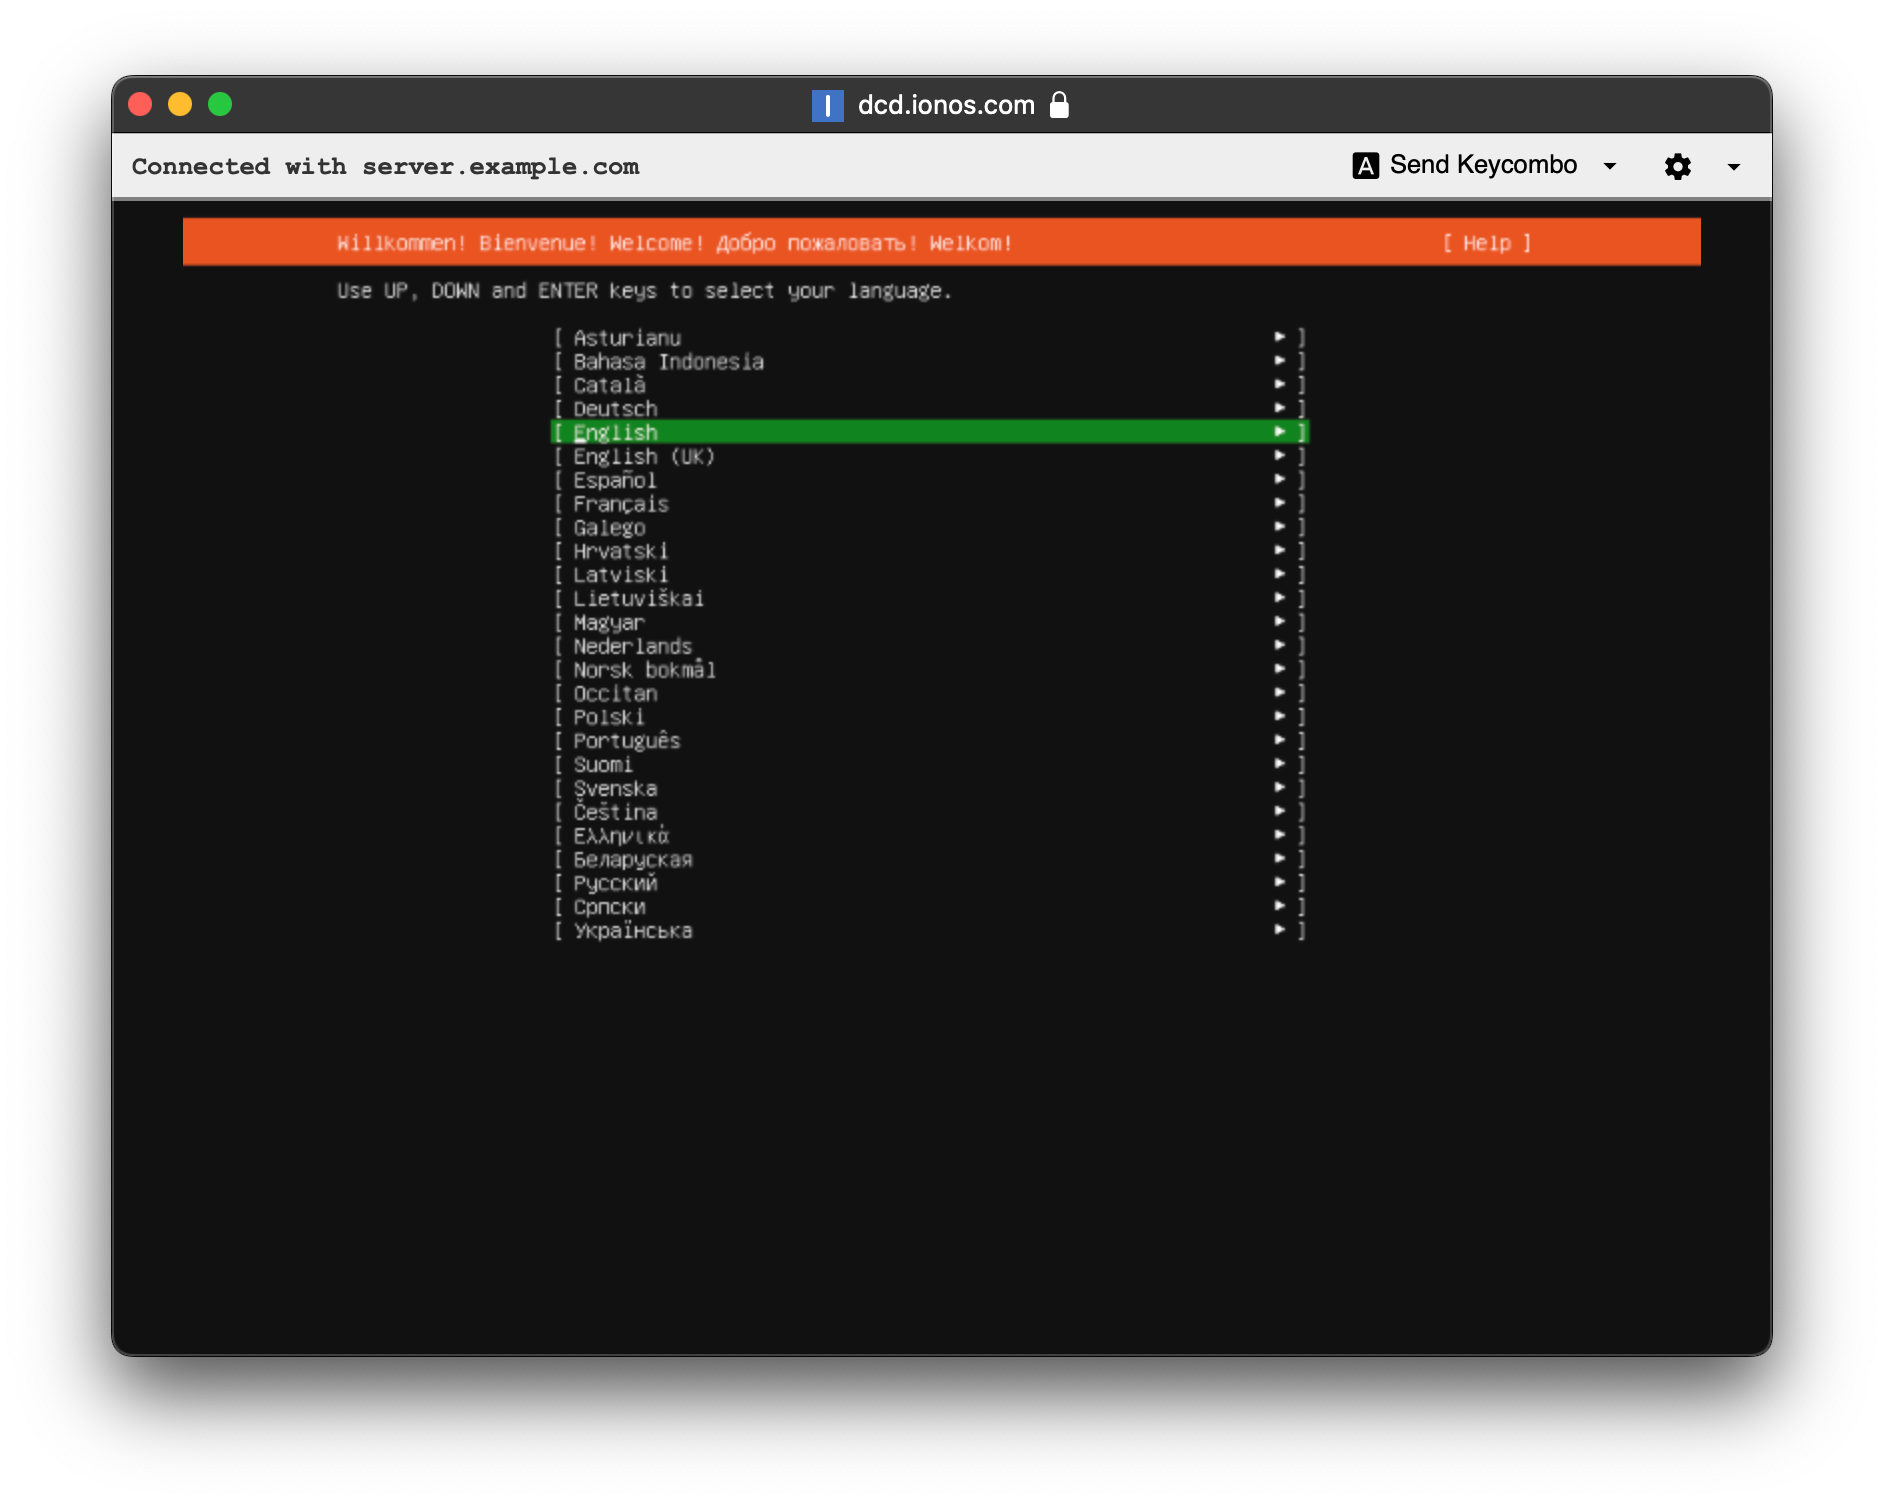
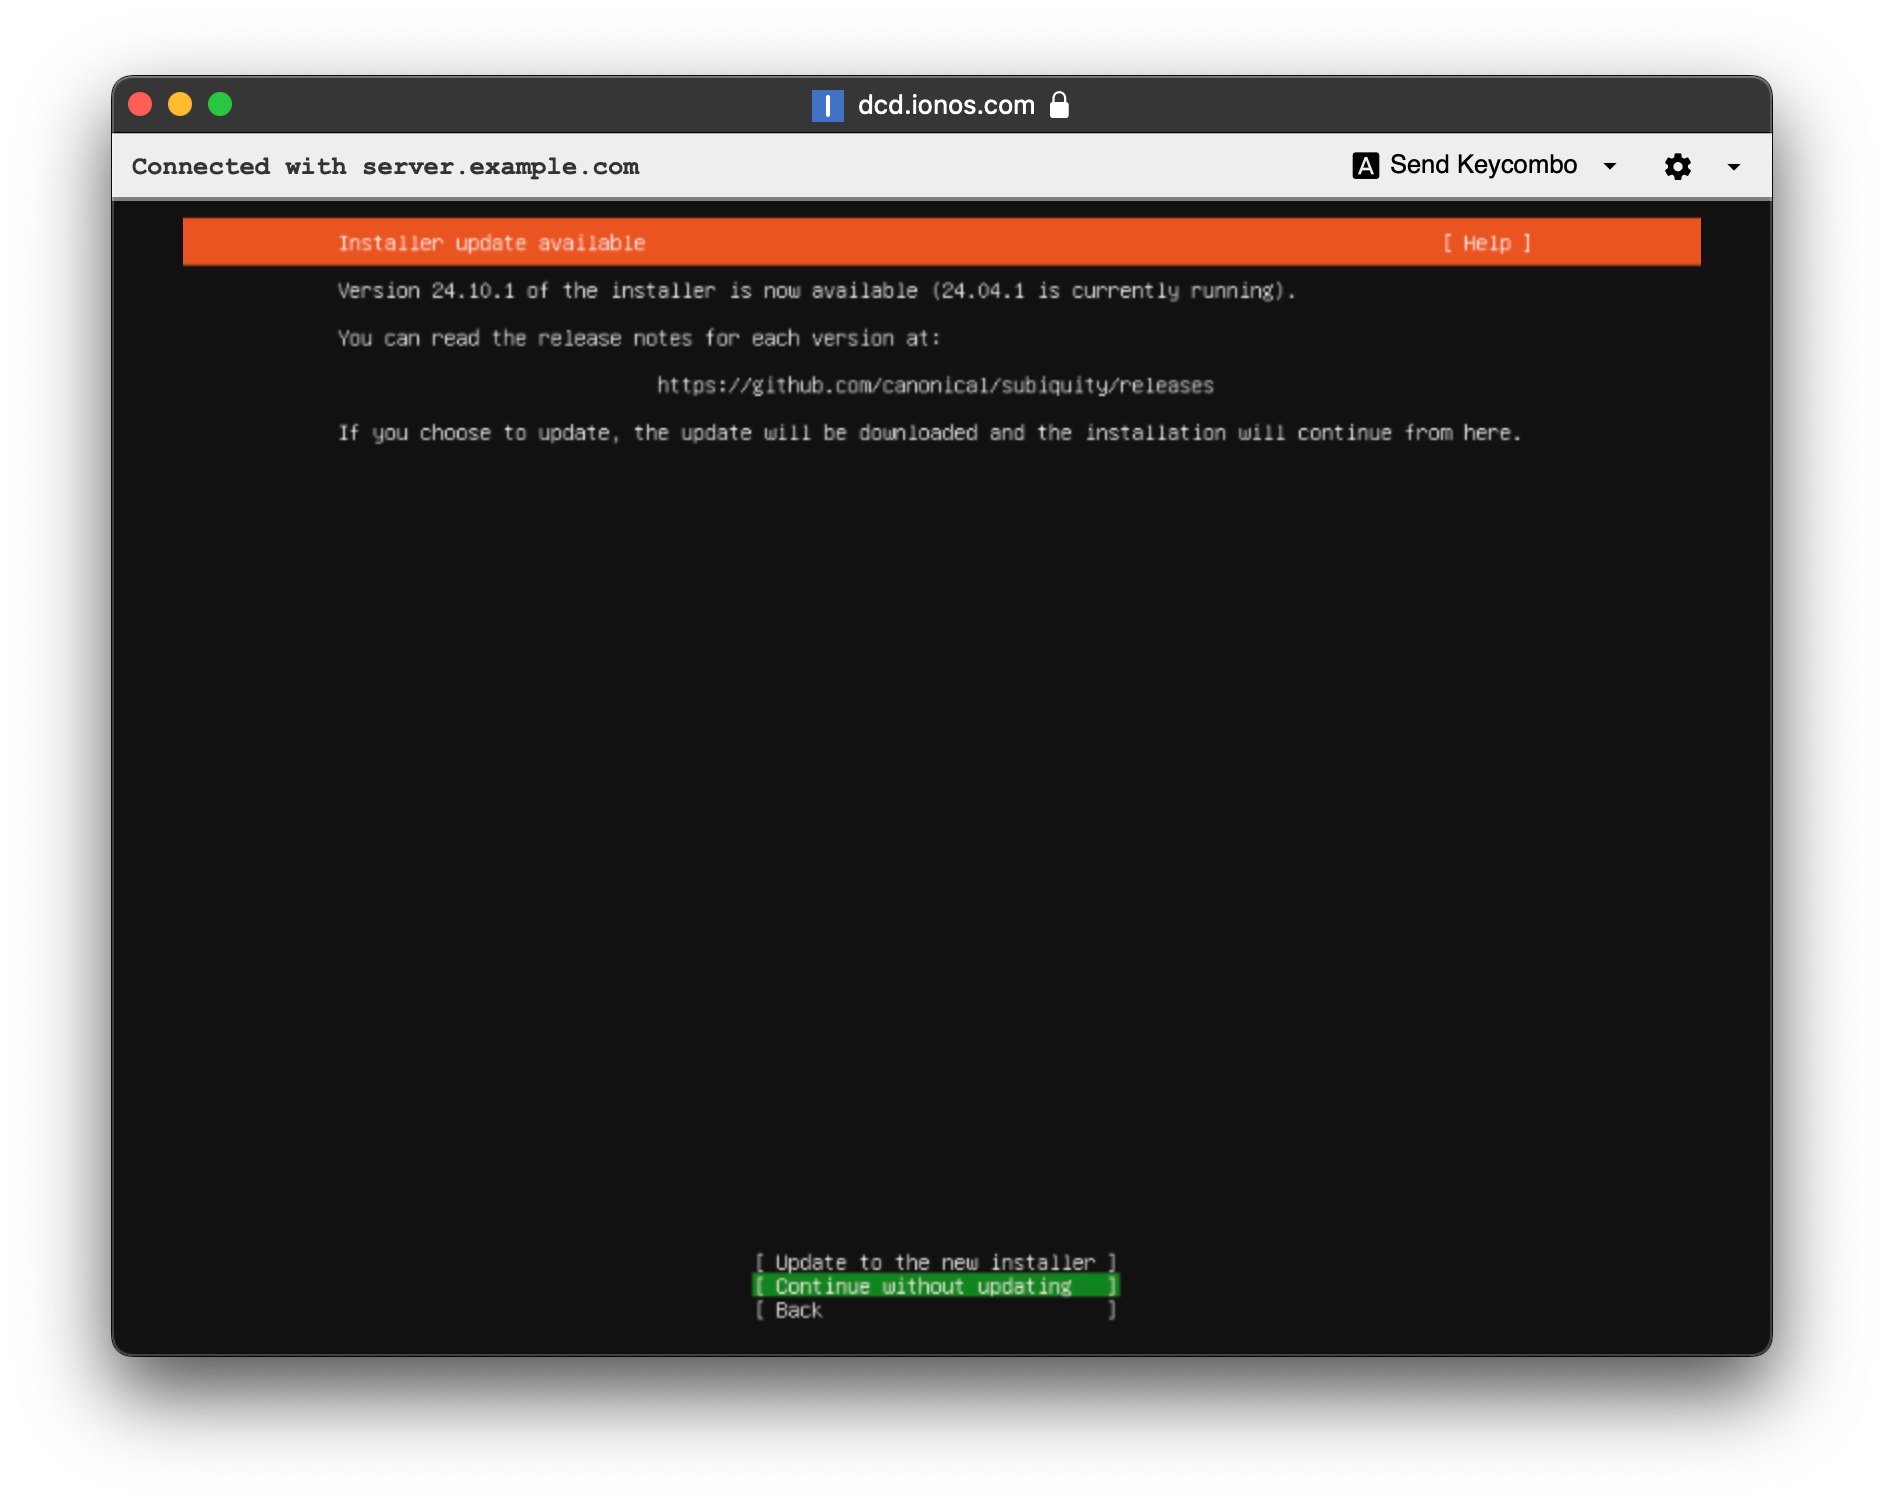
Choose "Continue without updating."
The only time you would want to update is if you plan to choose a snap from the snap store when you're installing. That's not common.
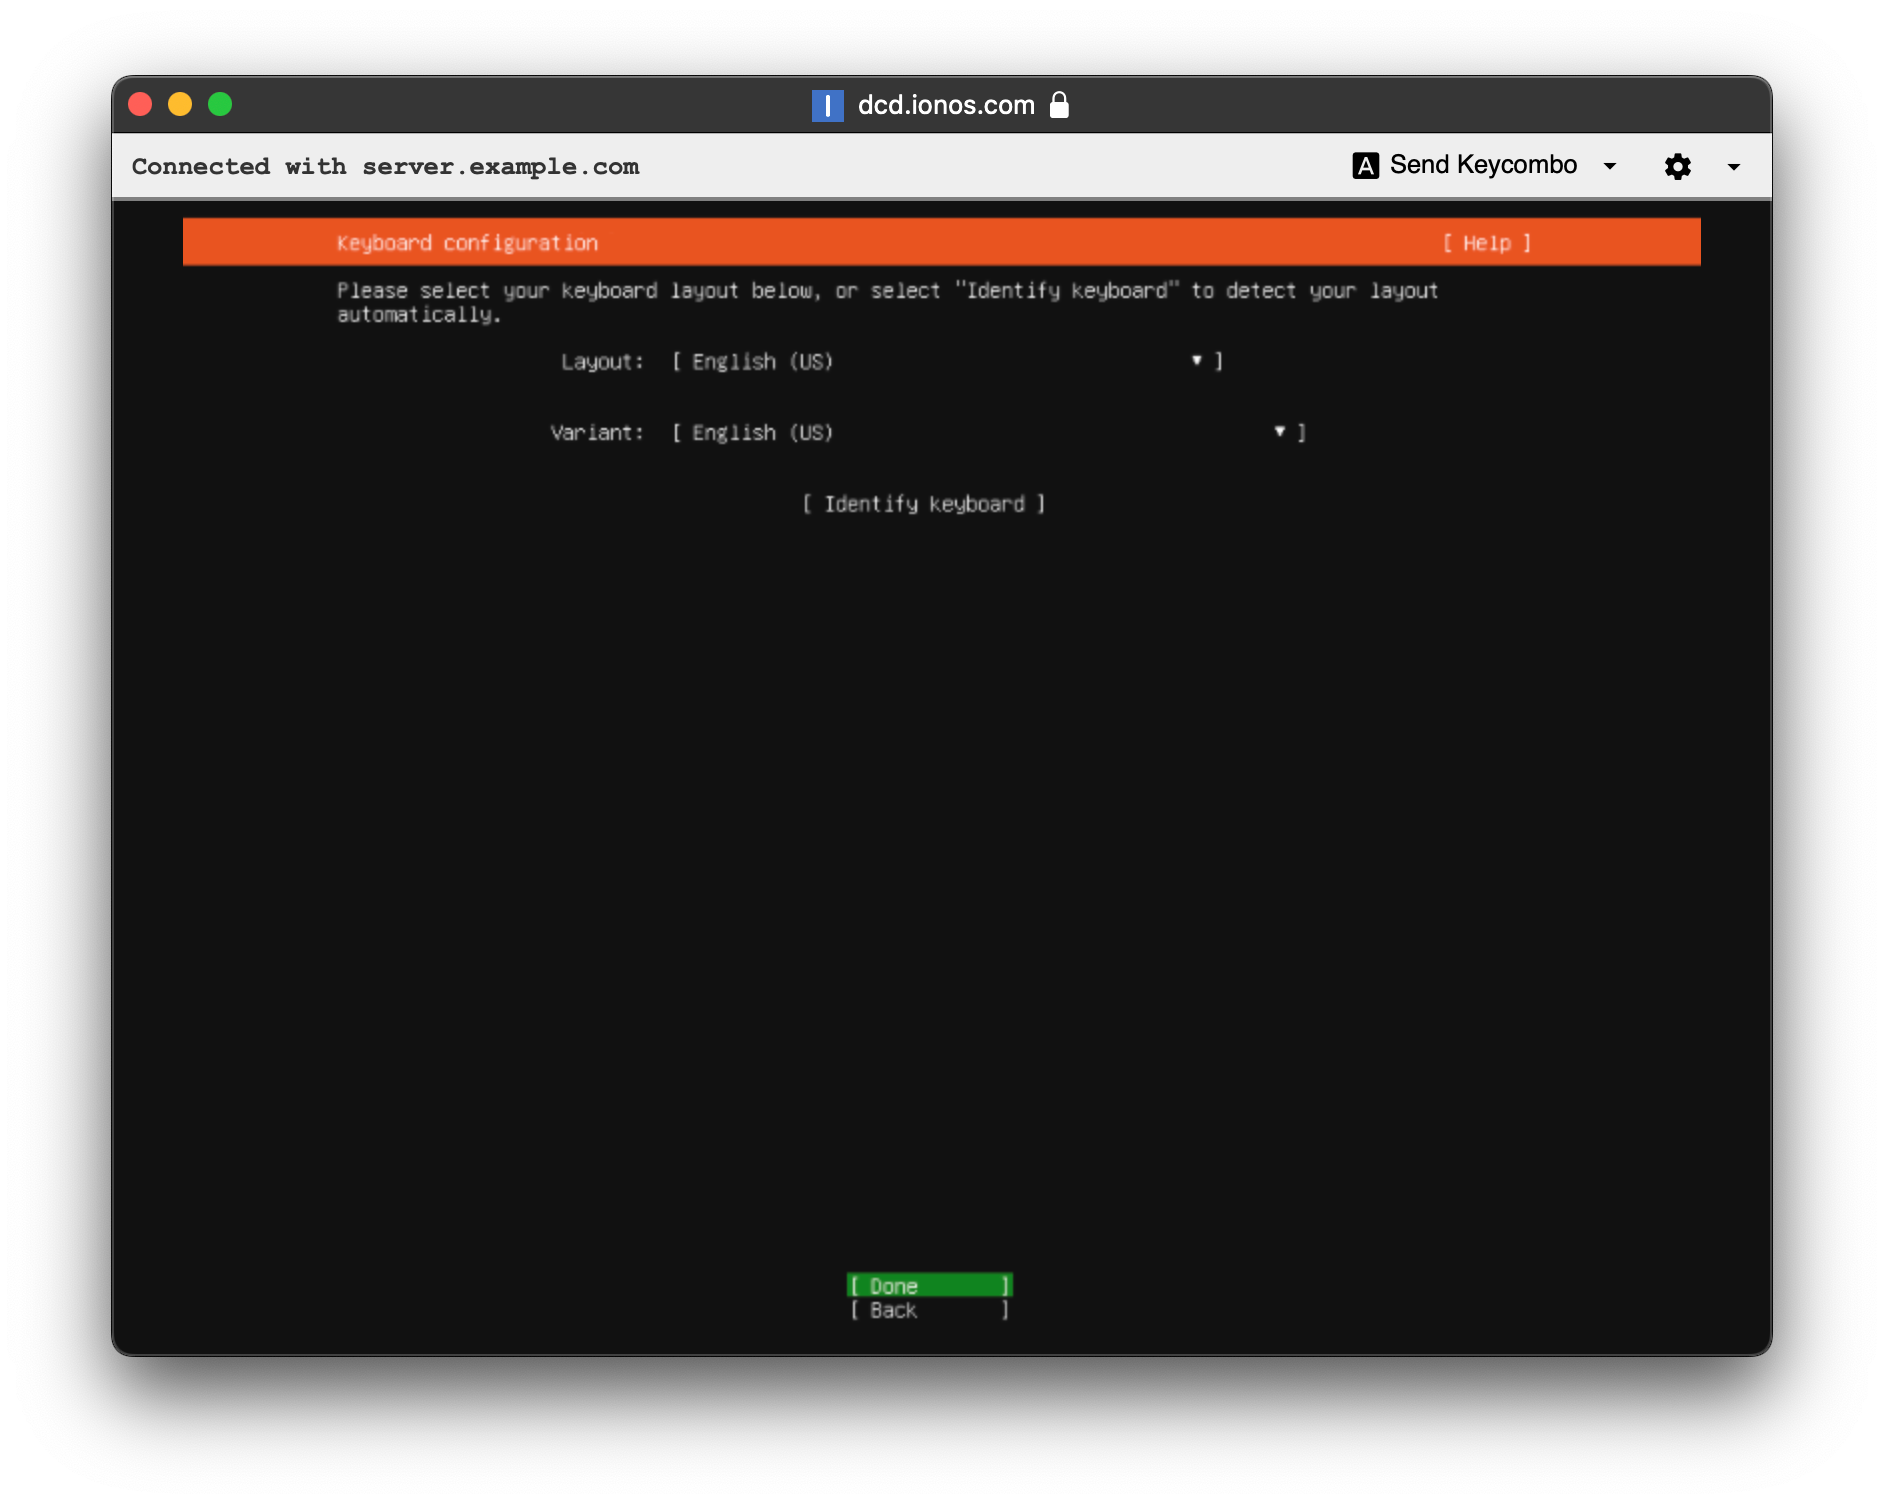
Confirm your keyboard configuration.
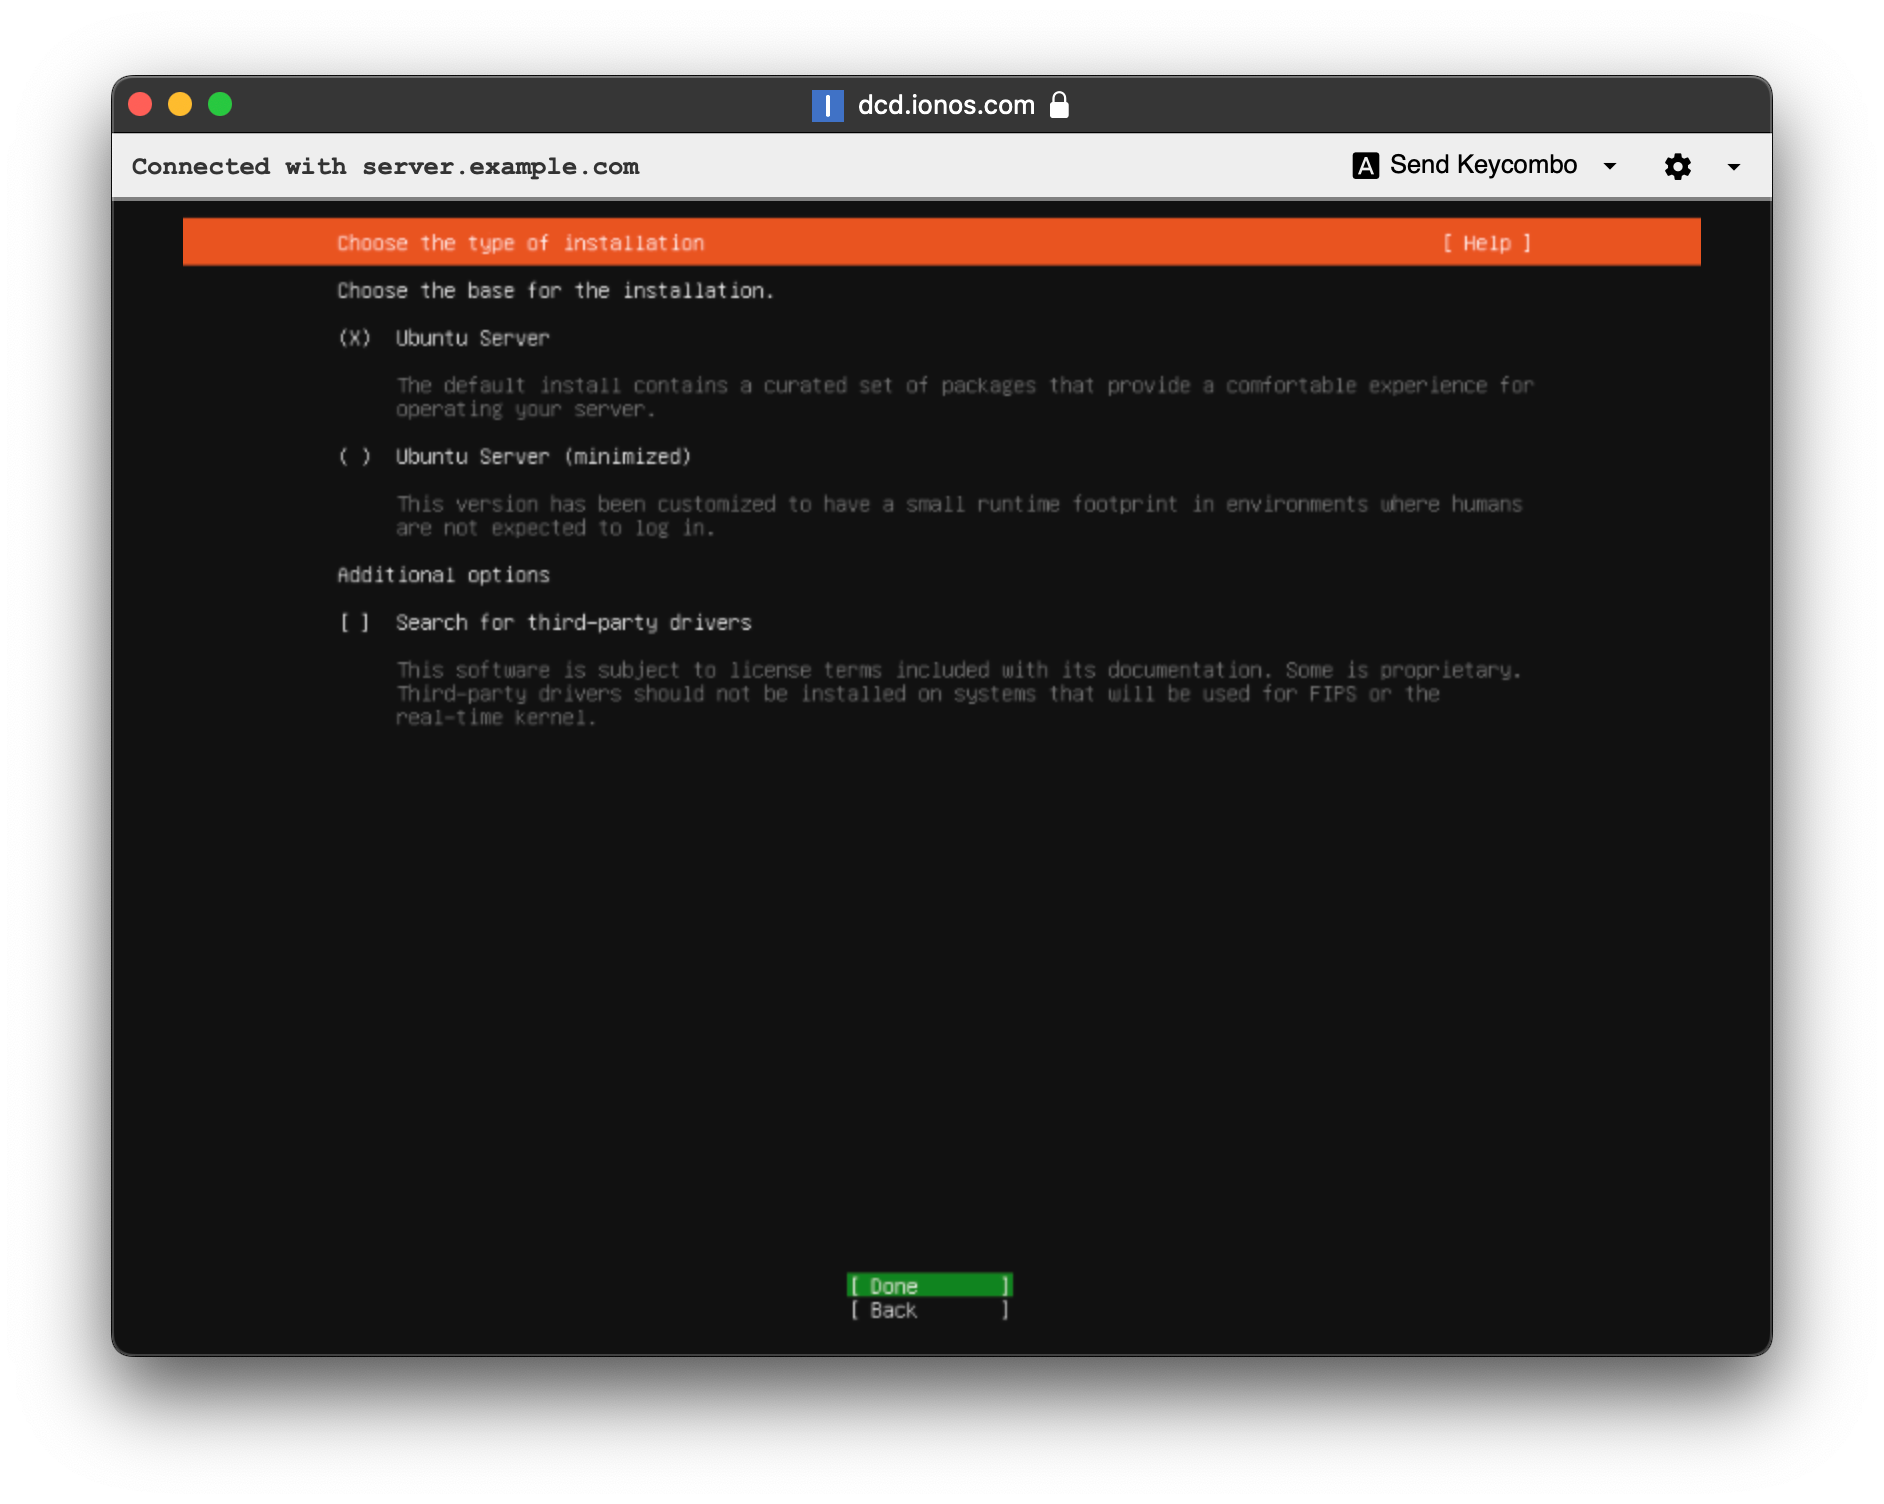
Leave the defaults of just "Ubuntu Server" and continue.
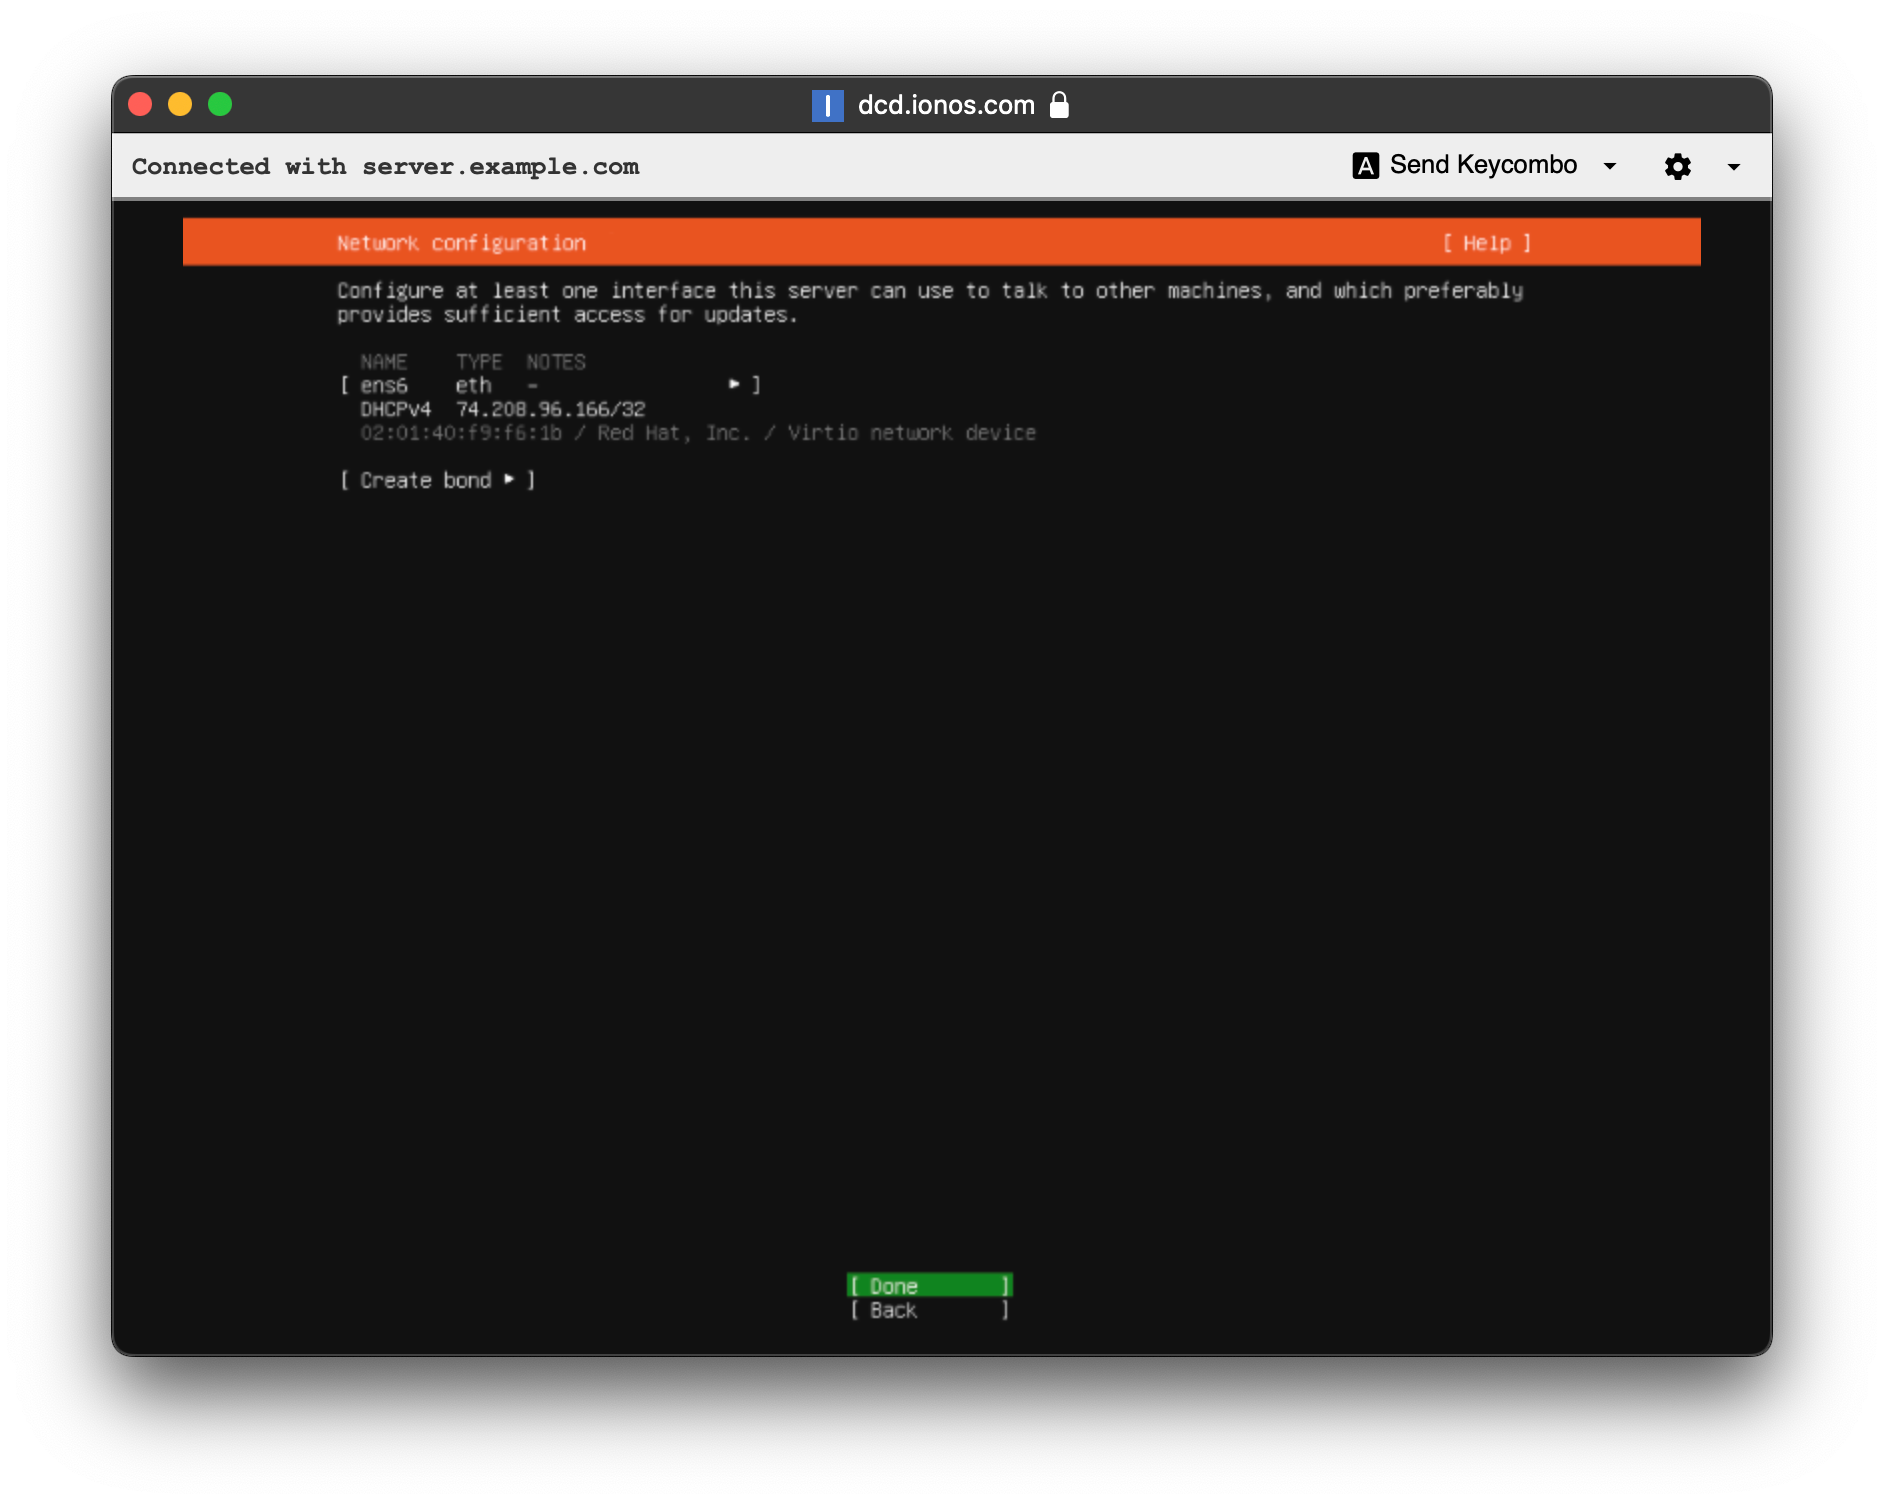
Leave the defaults for the network.
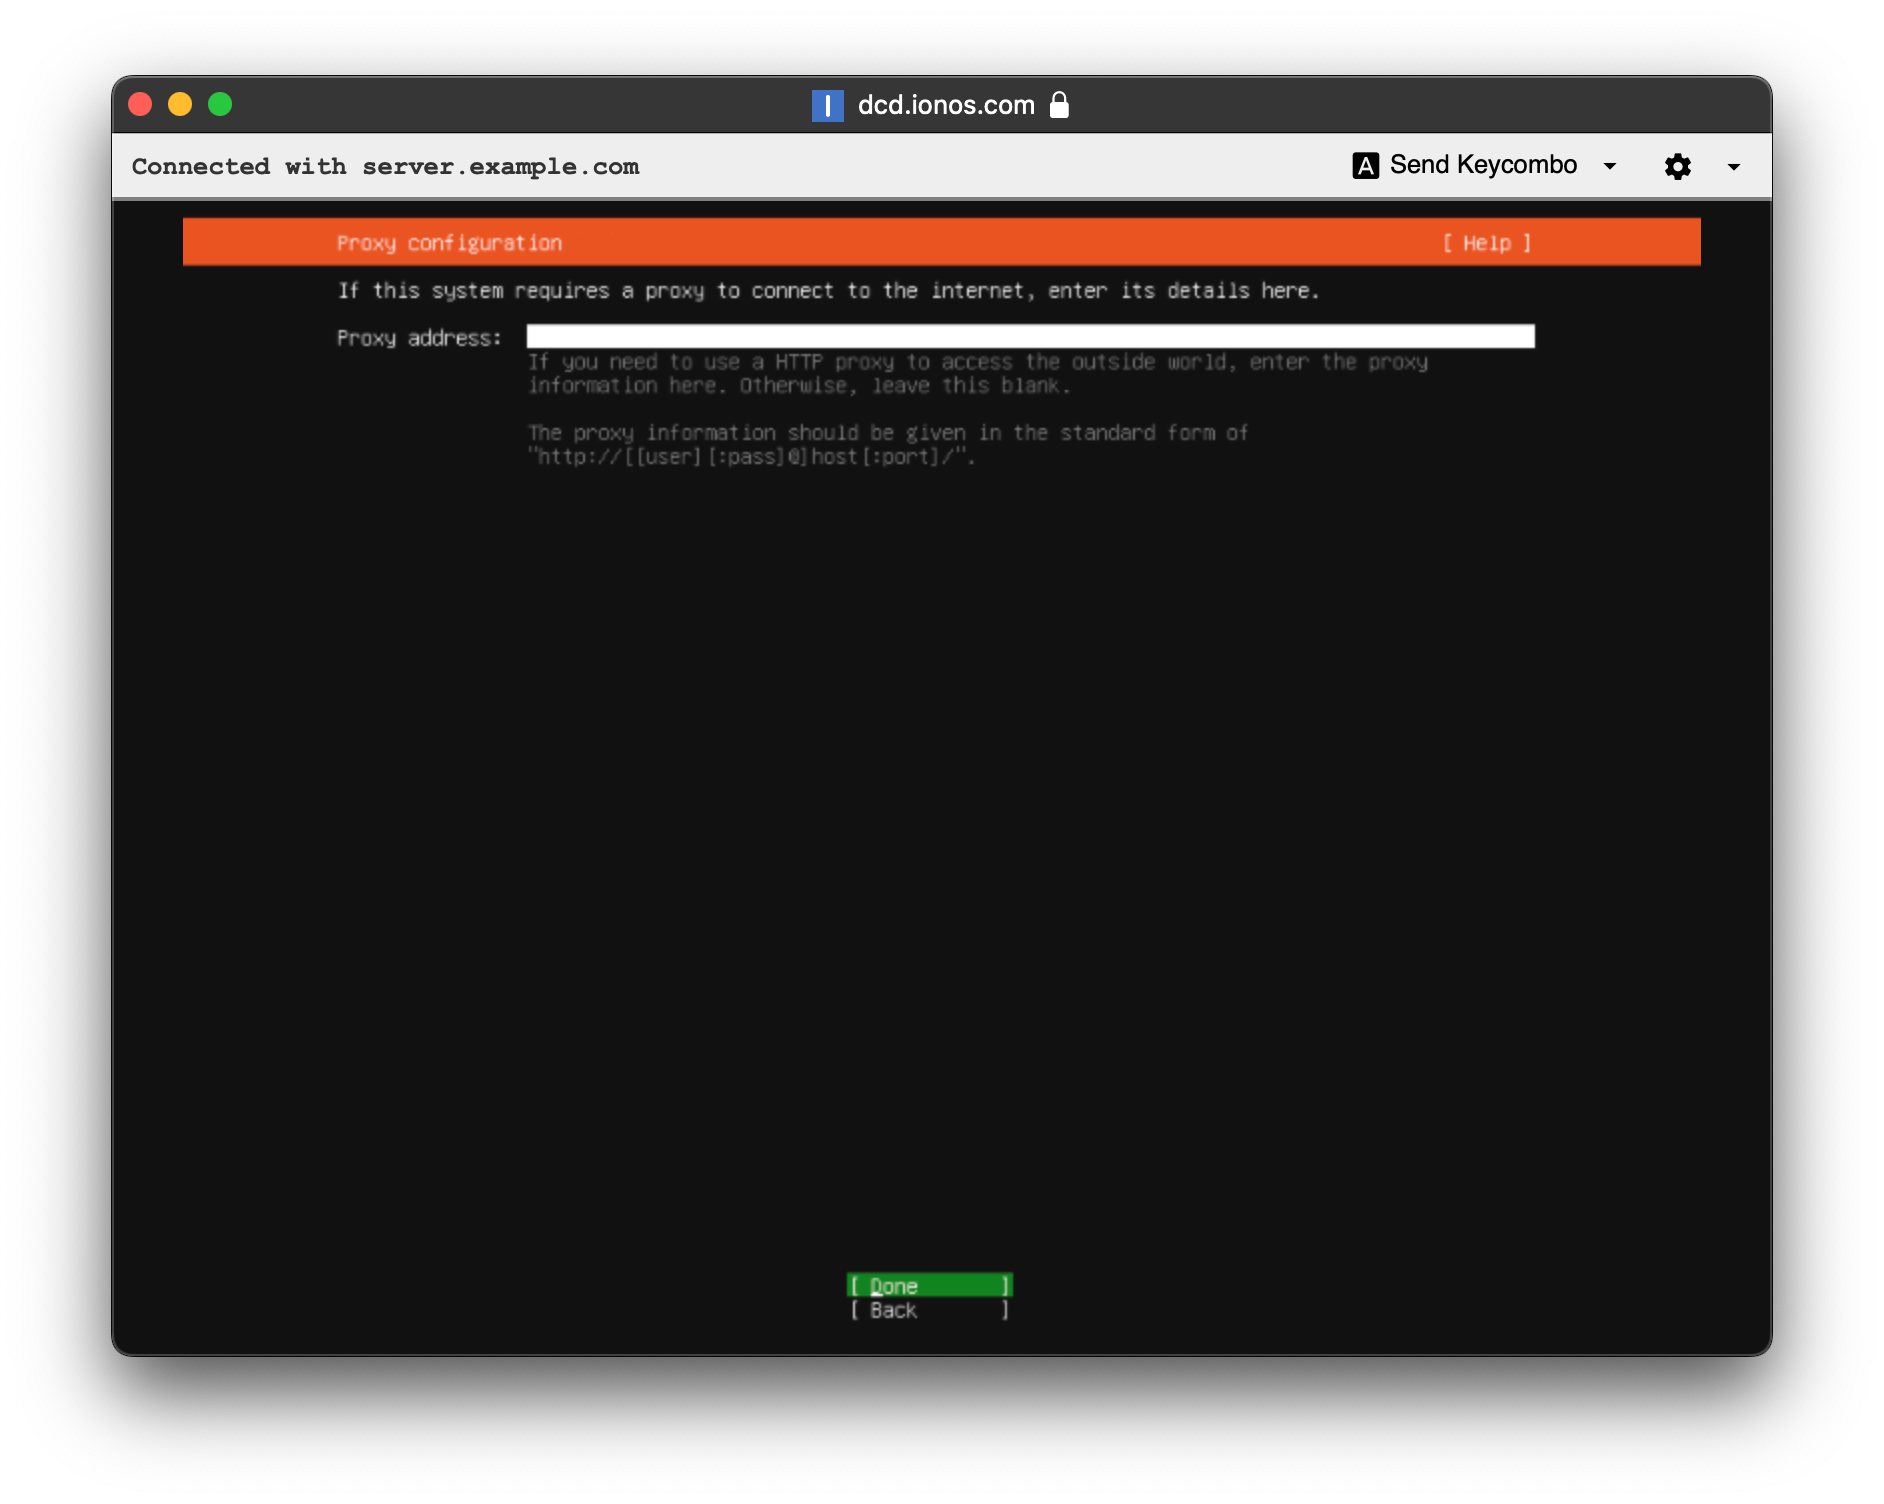
Do not enter anything for the proxy address and choose "Done"
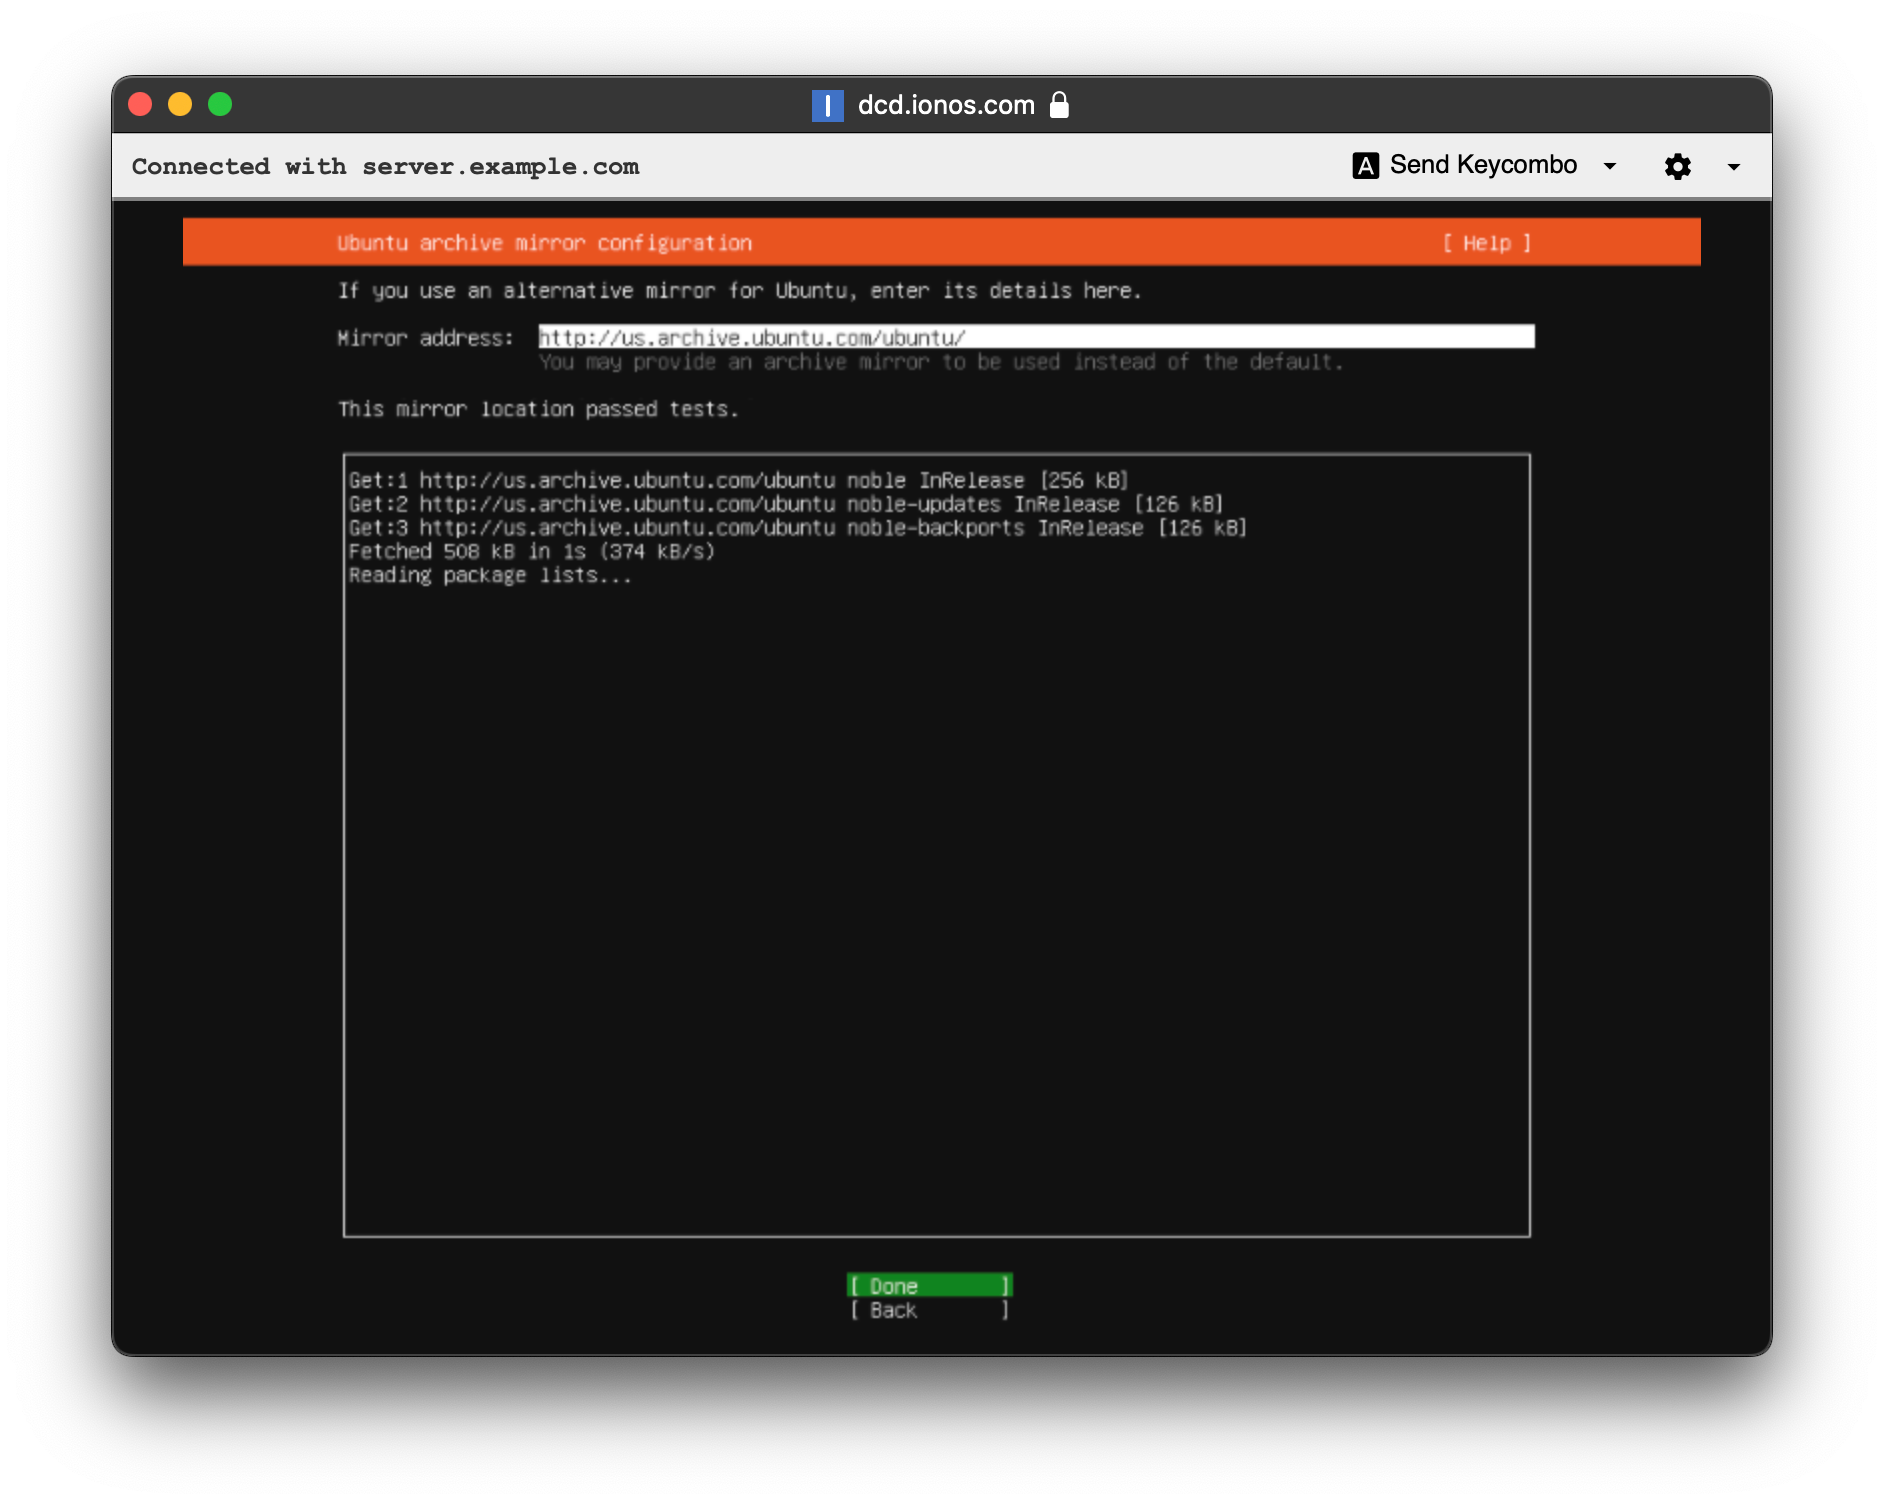
Wait for the test to finish and choose "Done."
Leave the defaults for the disk and arrow down until you reach "Done"
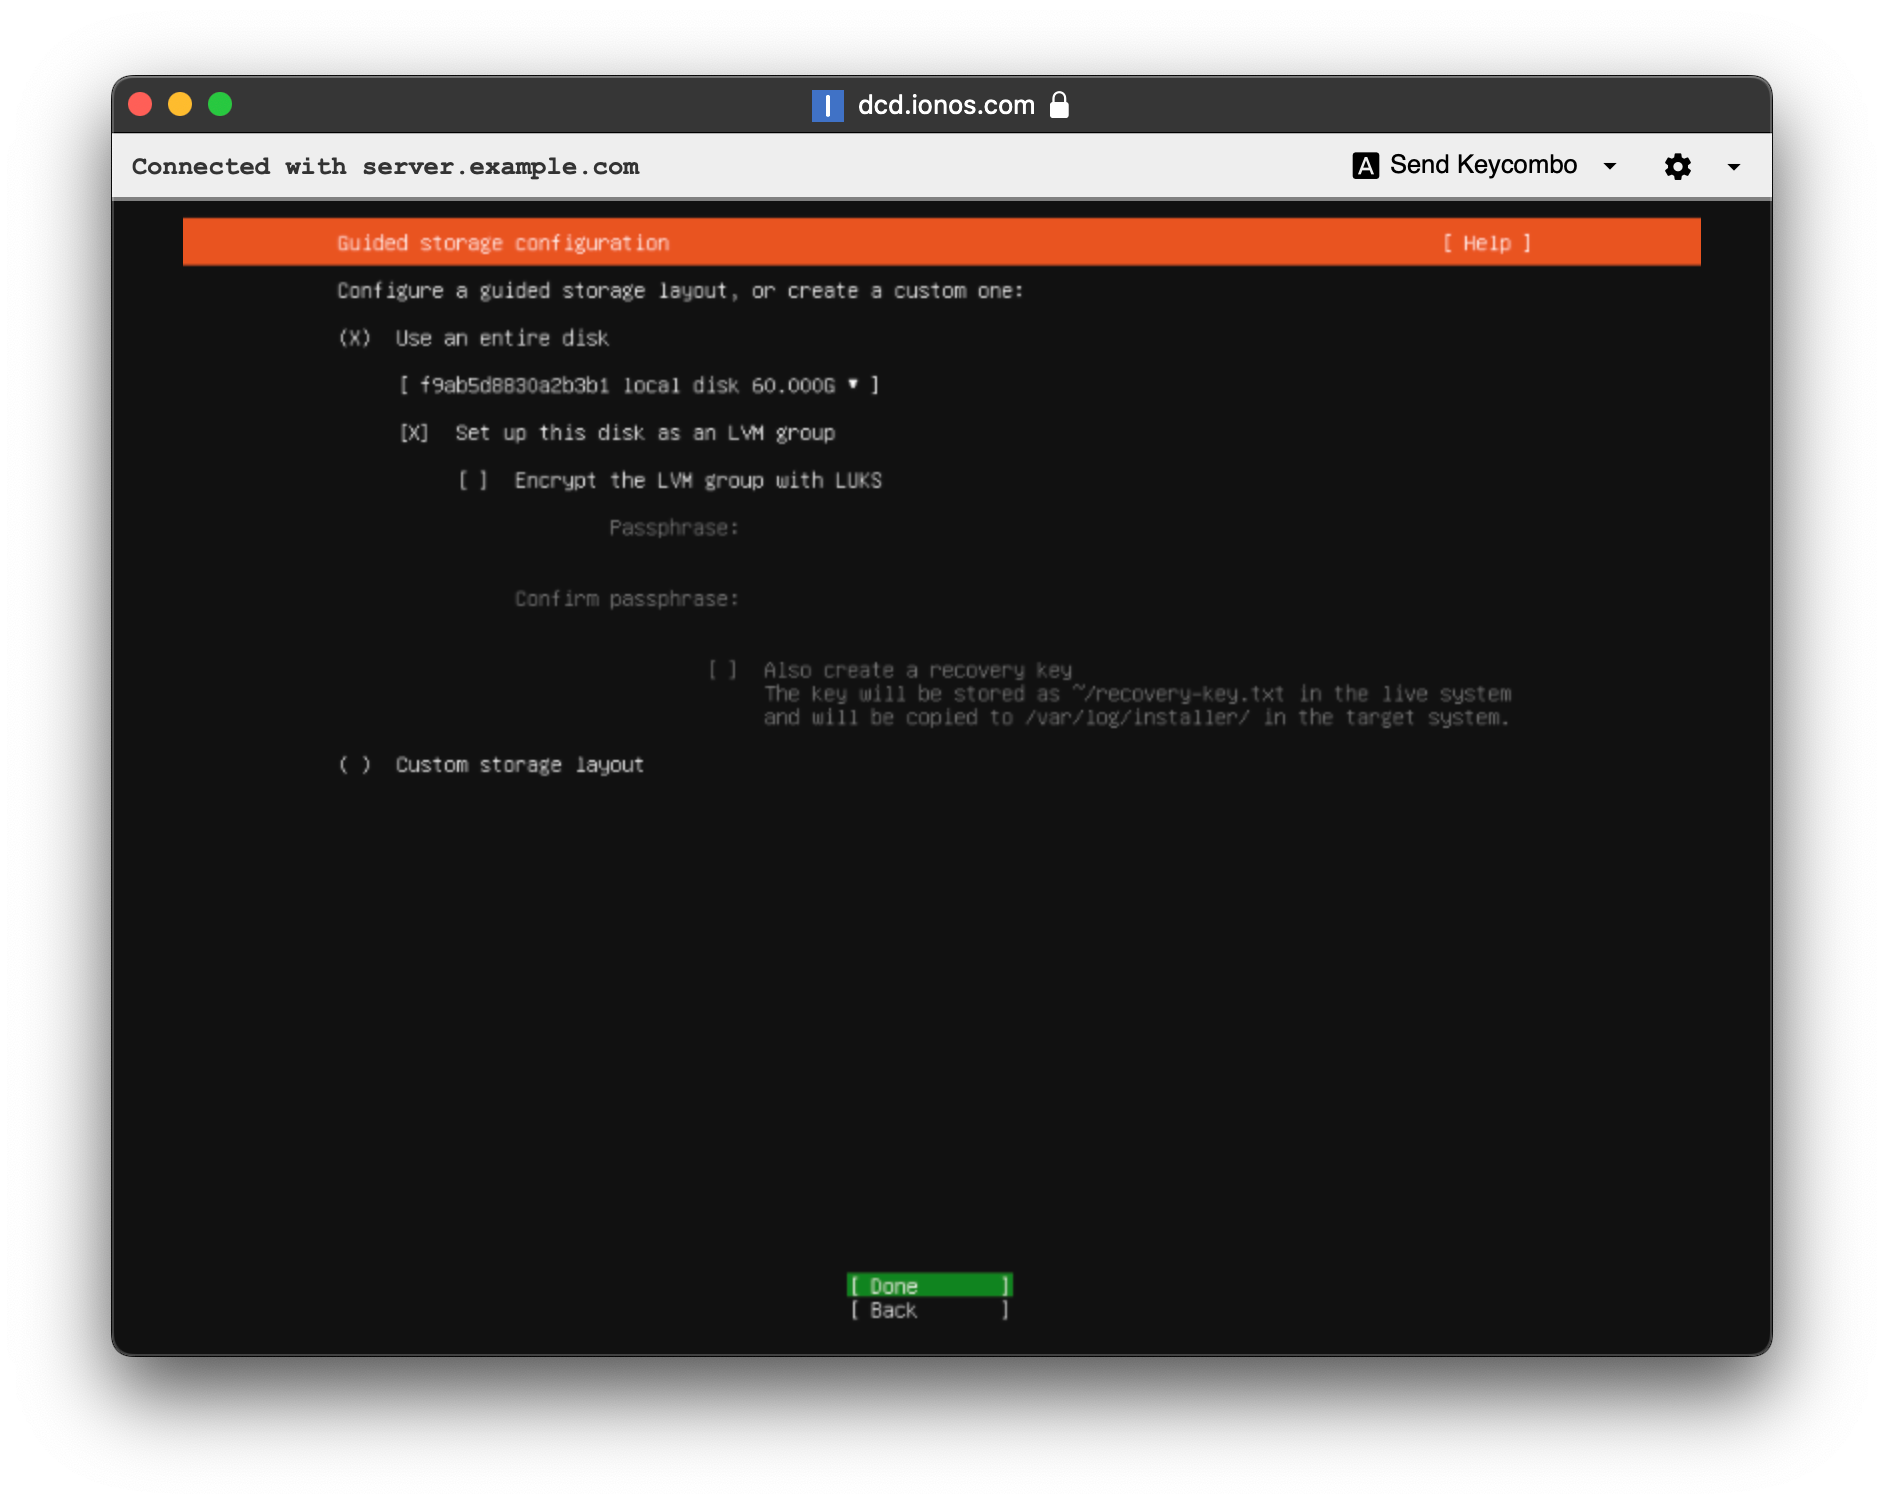
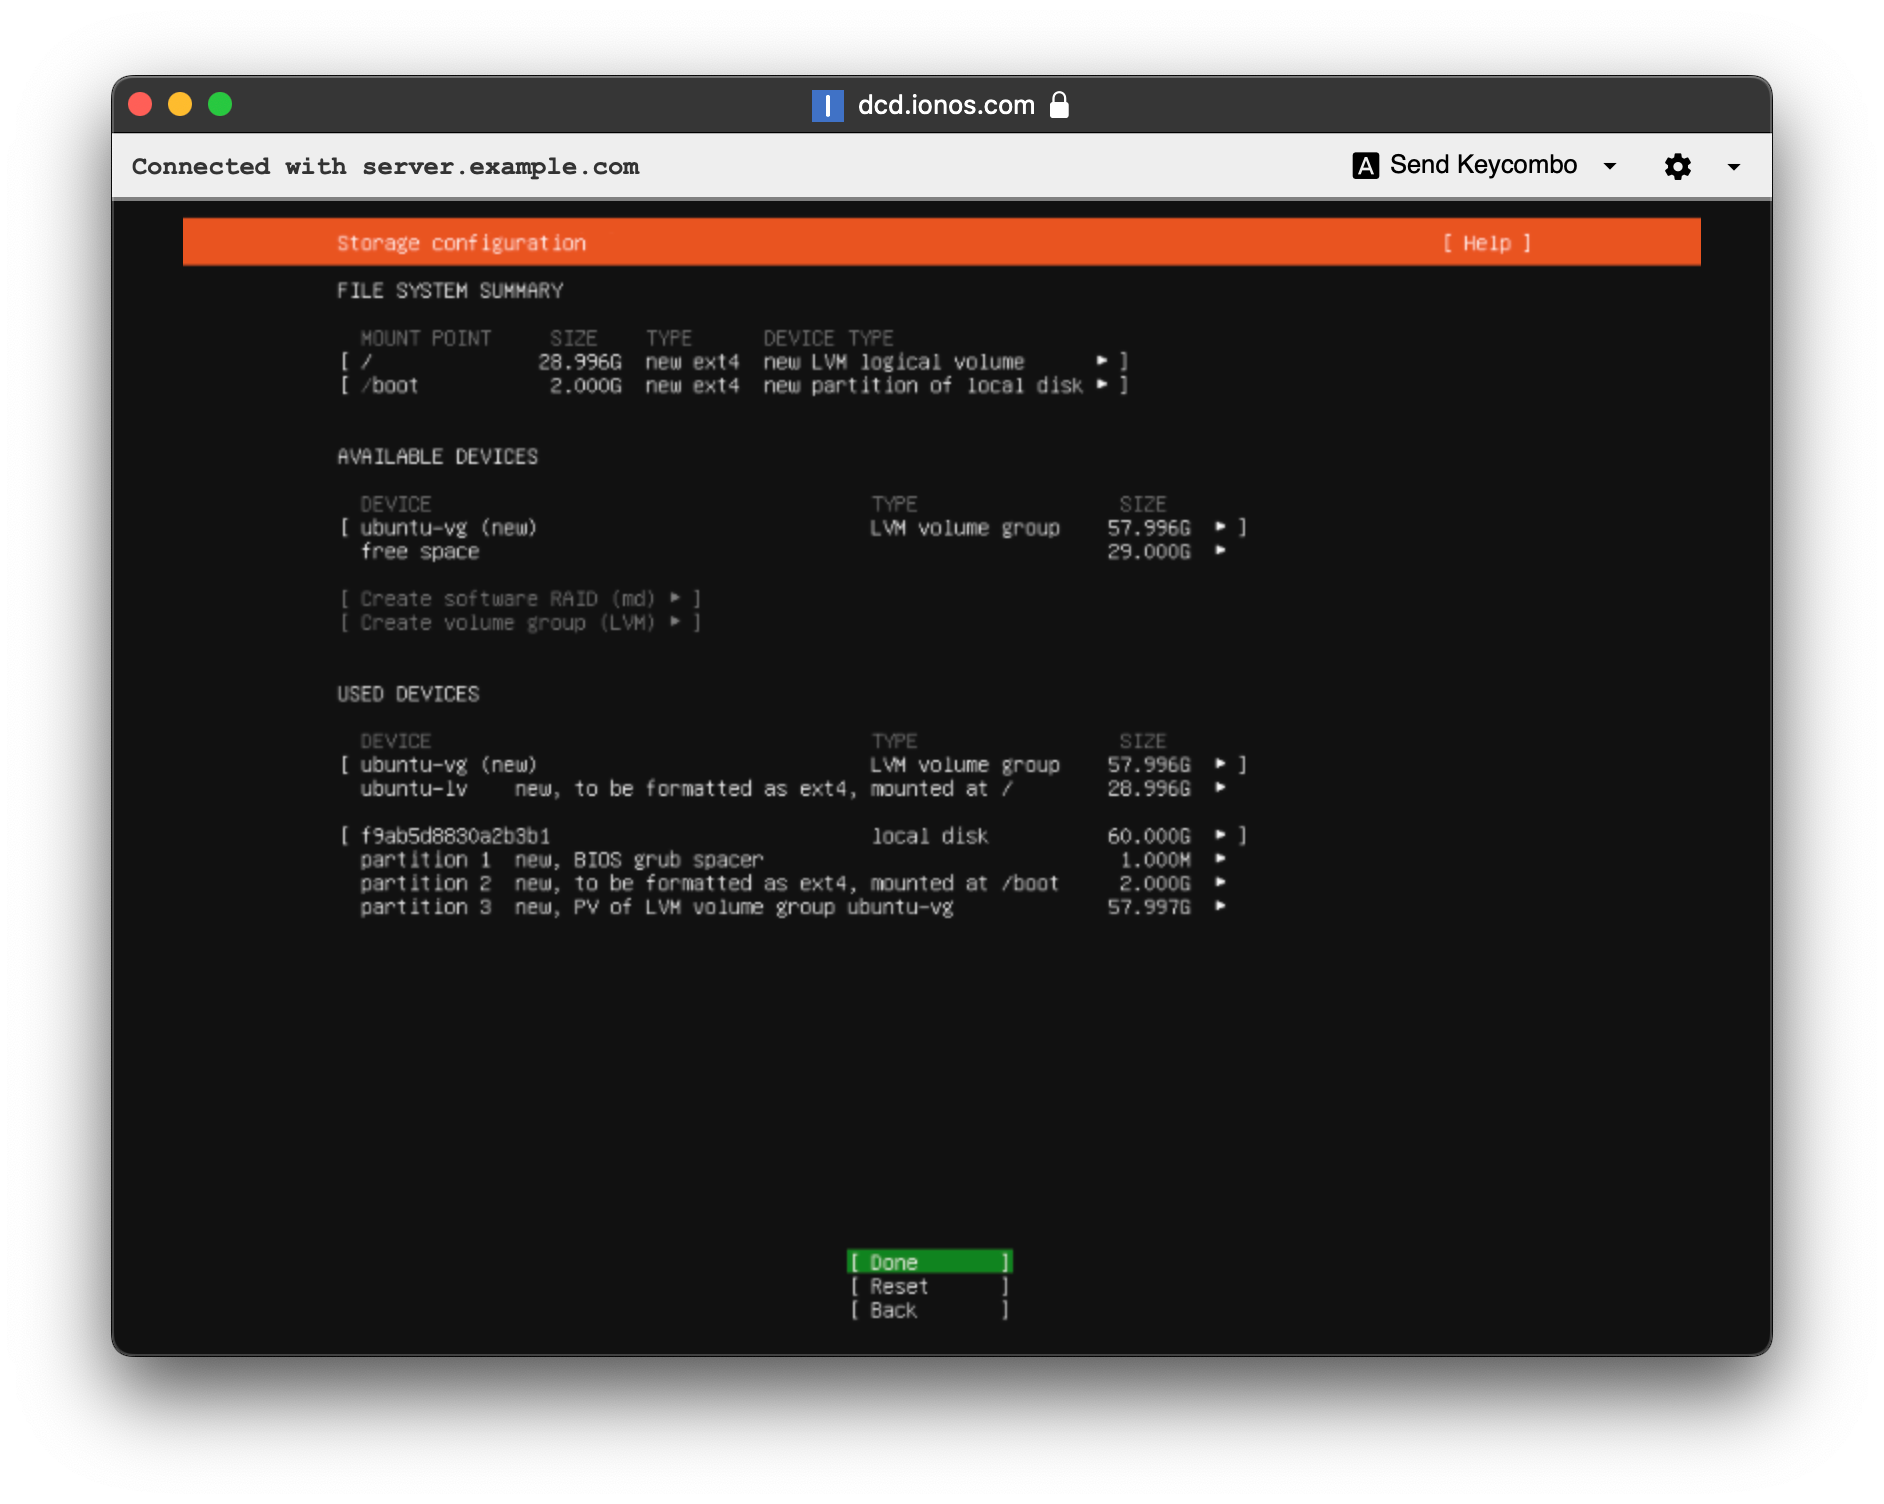
Leave the defaults on the Storage Configuration screen and choose "Done."
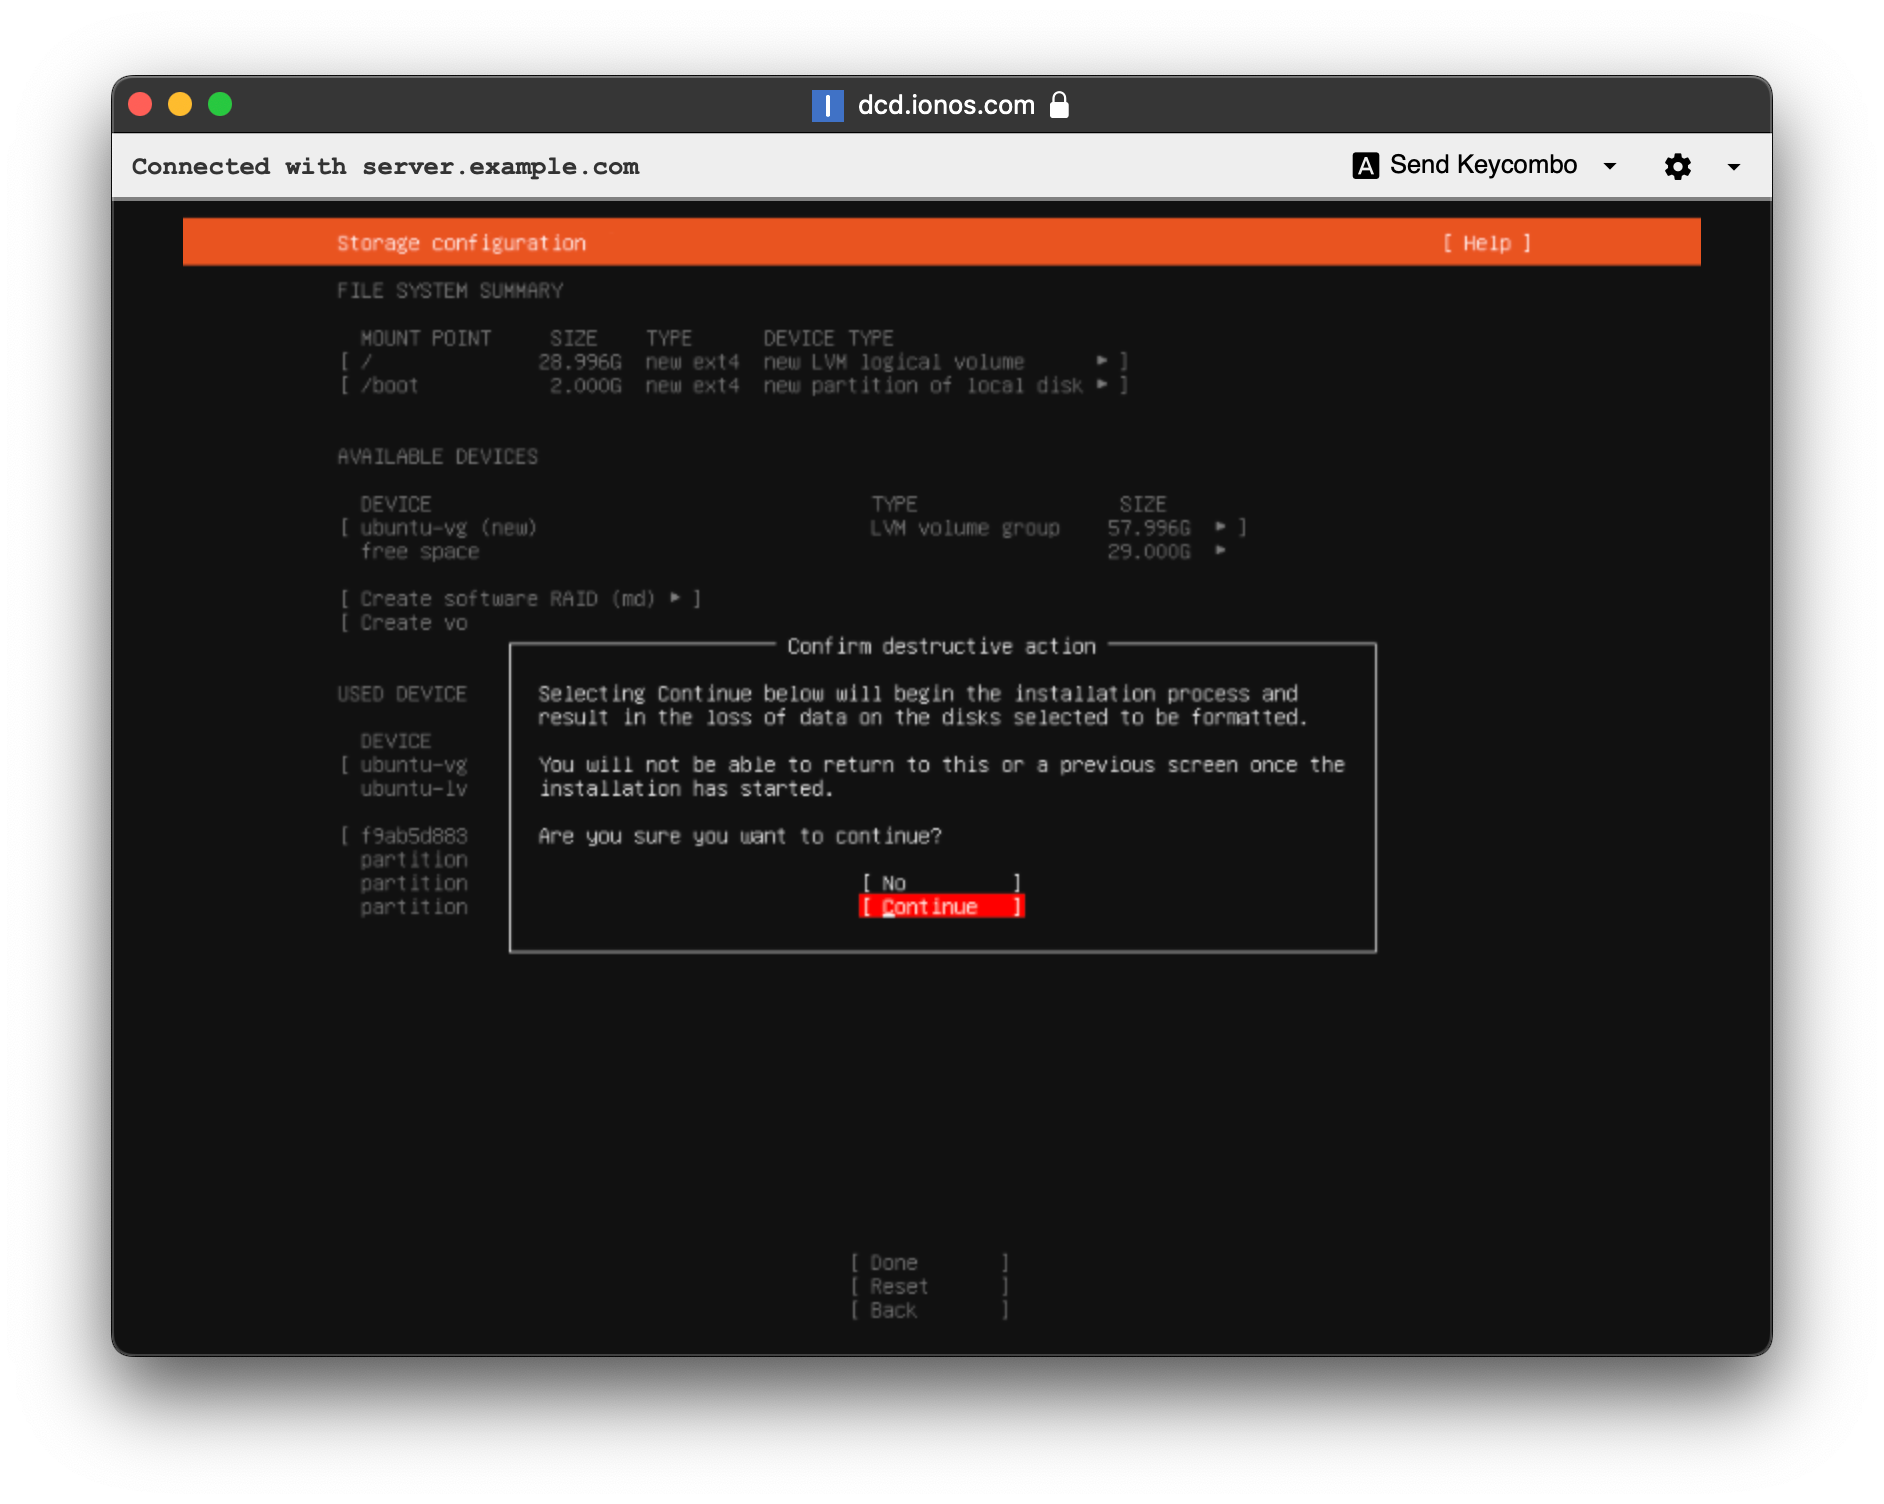
Confirm the scary changes on the red "Continue".
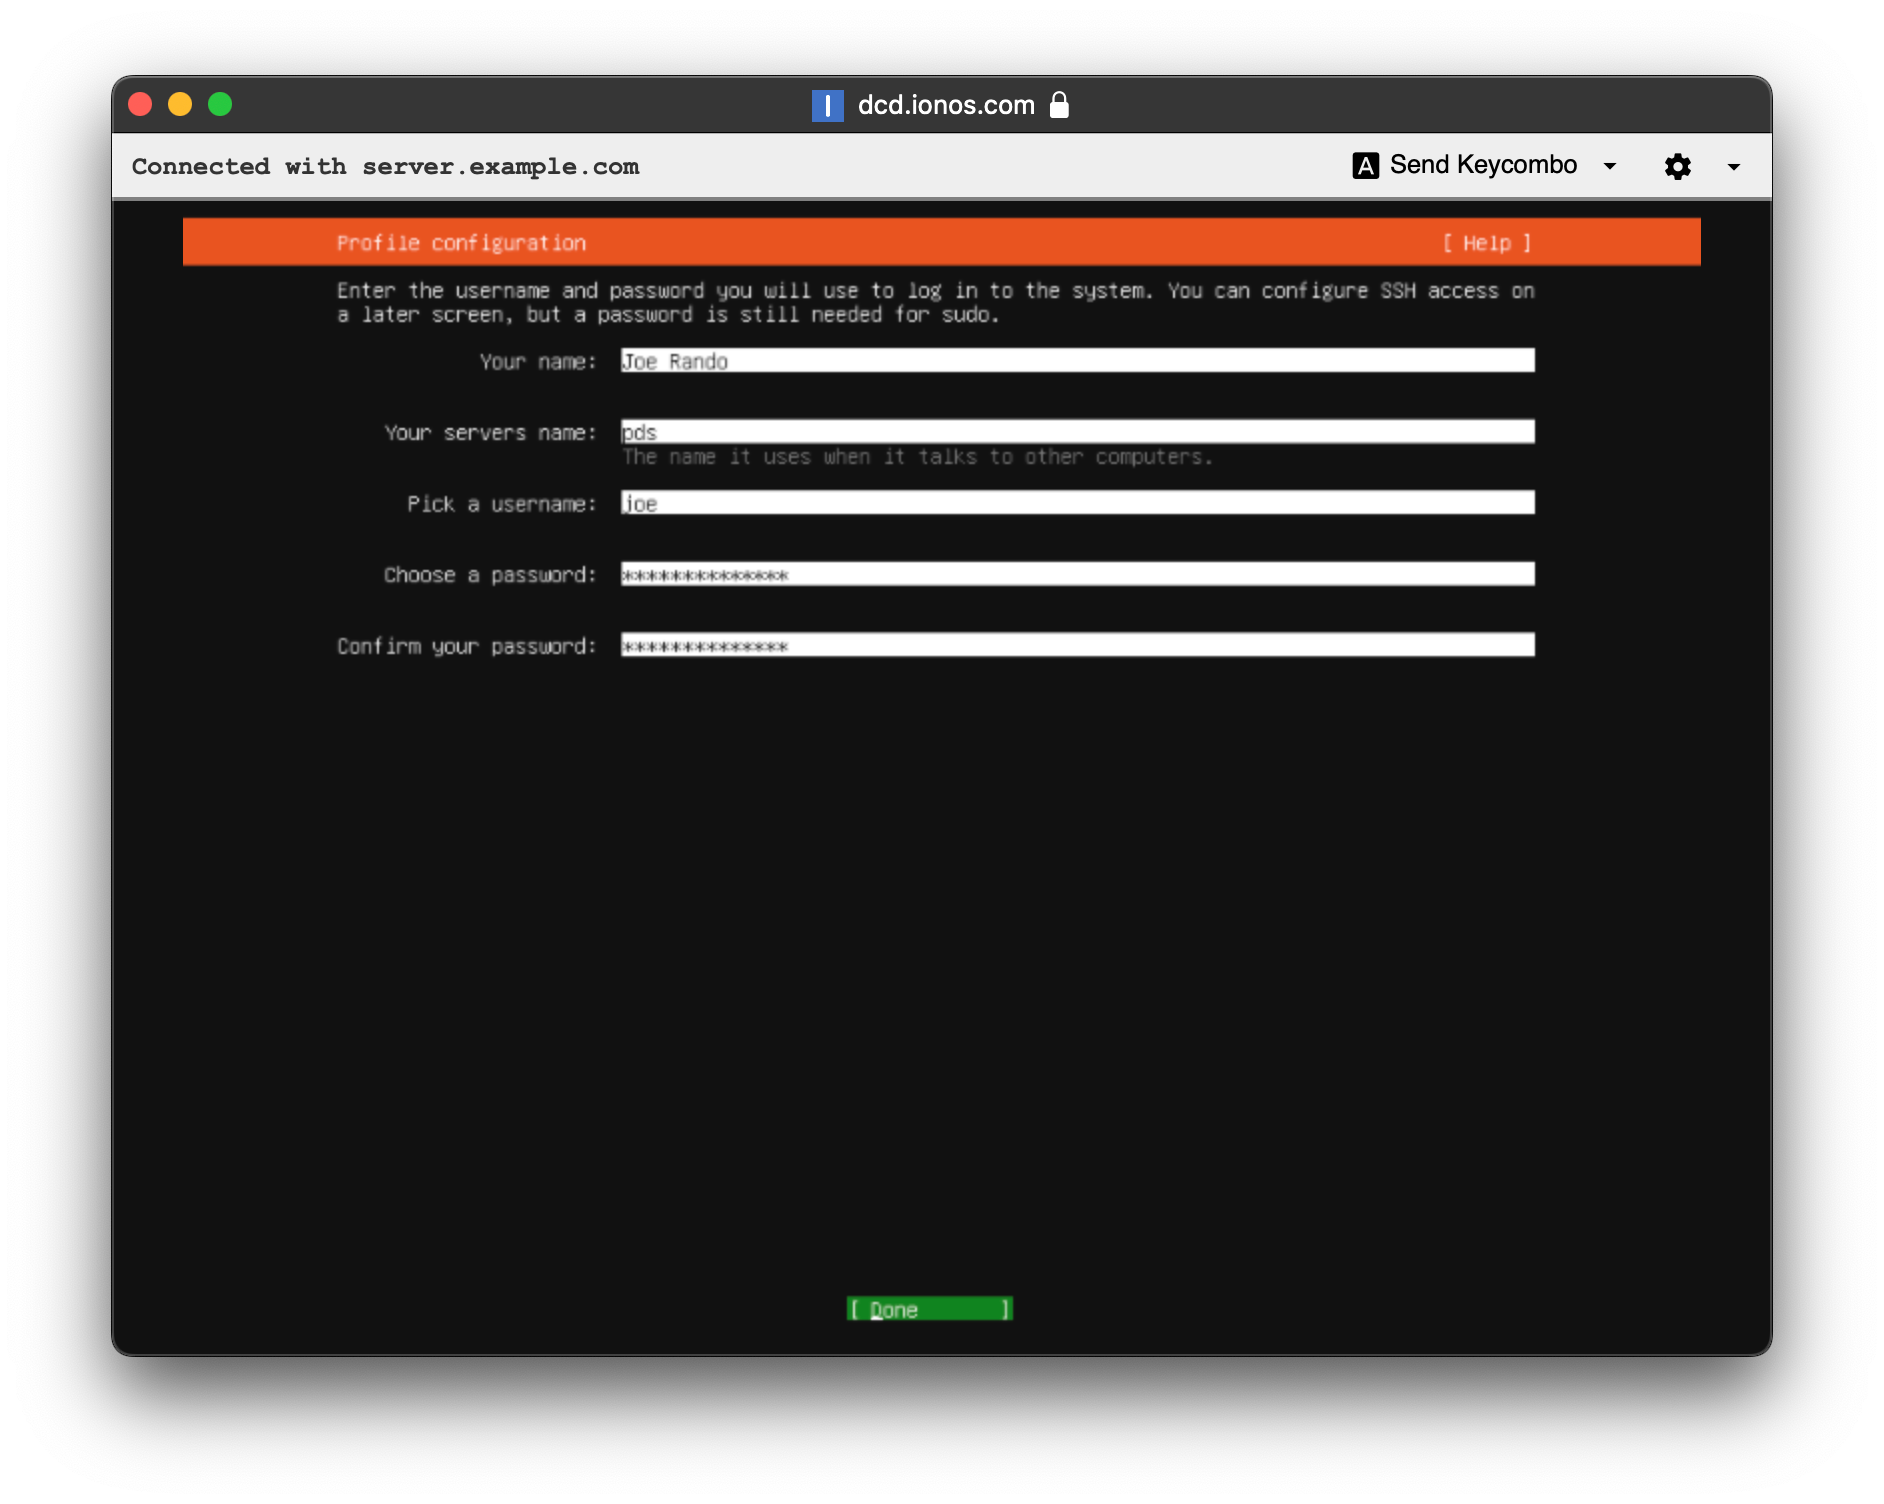
Enter your name, server name, username, and password.
Your Name has no affect on the system.
For "Your servers name" you will only be able to enter letters, dashes, and numbers. Typically I'll enter the application name or sub domain I'm using. If I'm making a personal data server for BlueSky, I'll name it "pds".
You have to pay for Ubuntu Pro and is typically used in production environments where you have to copy with hardening standards. Just choose "Continue".
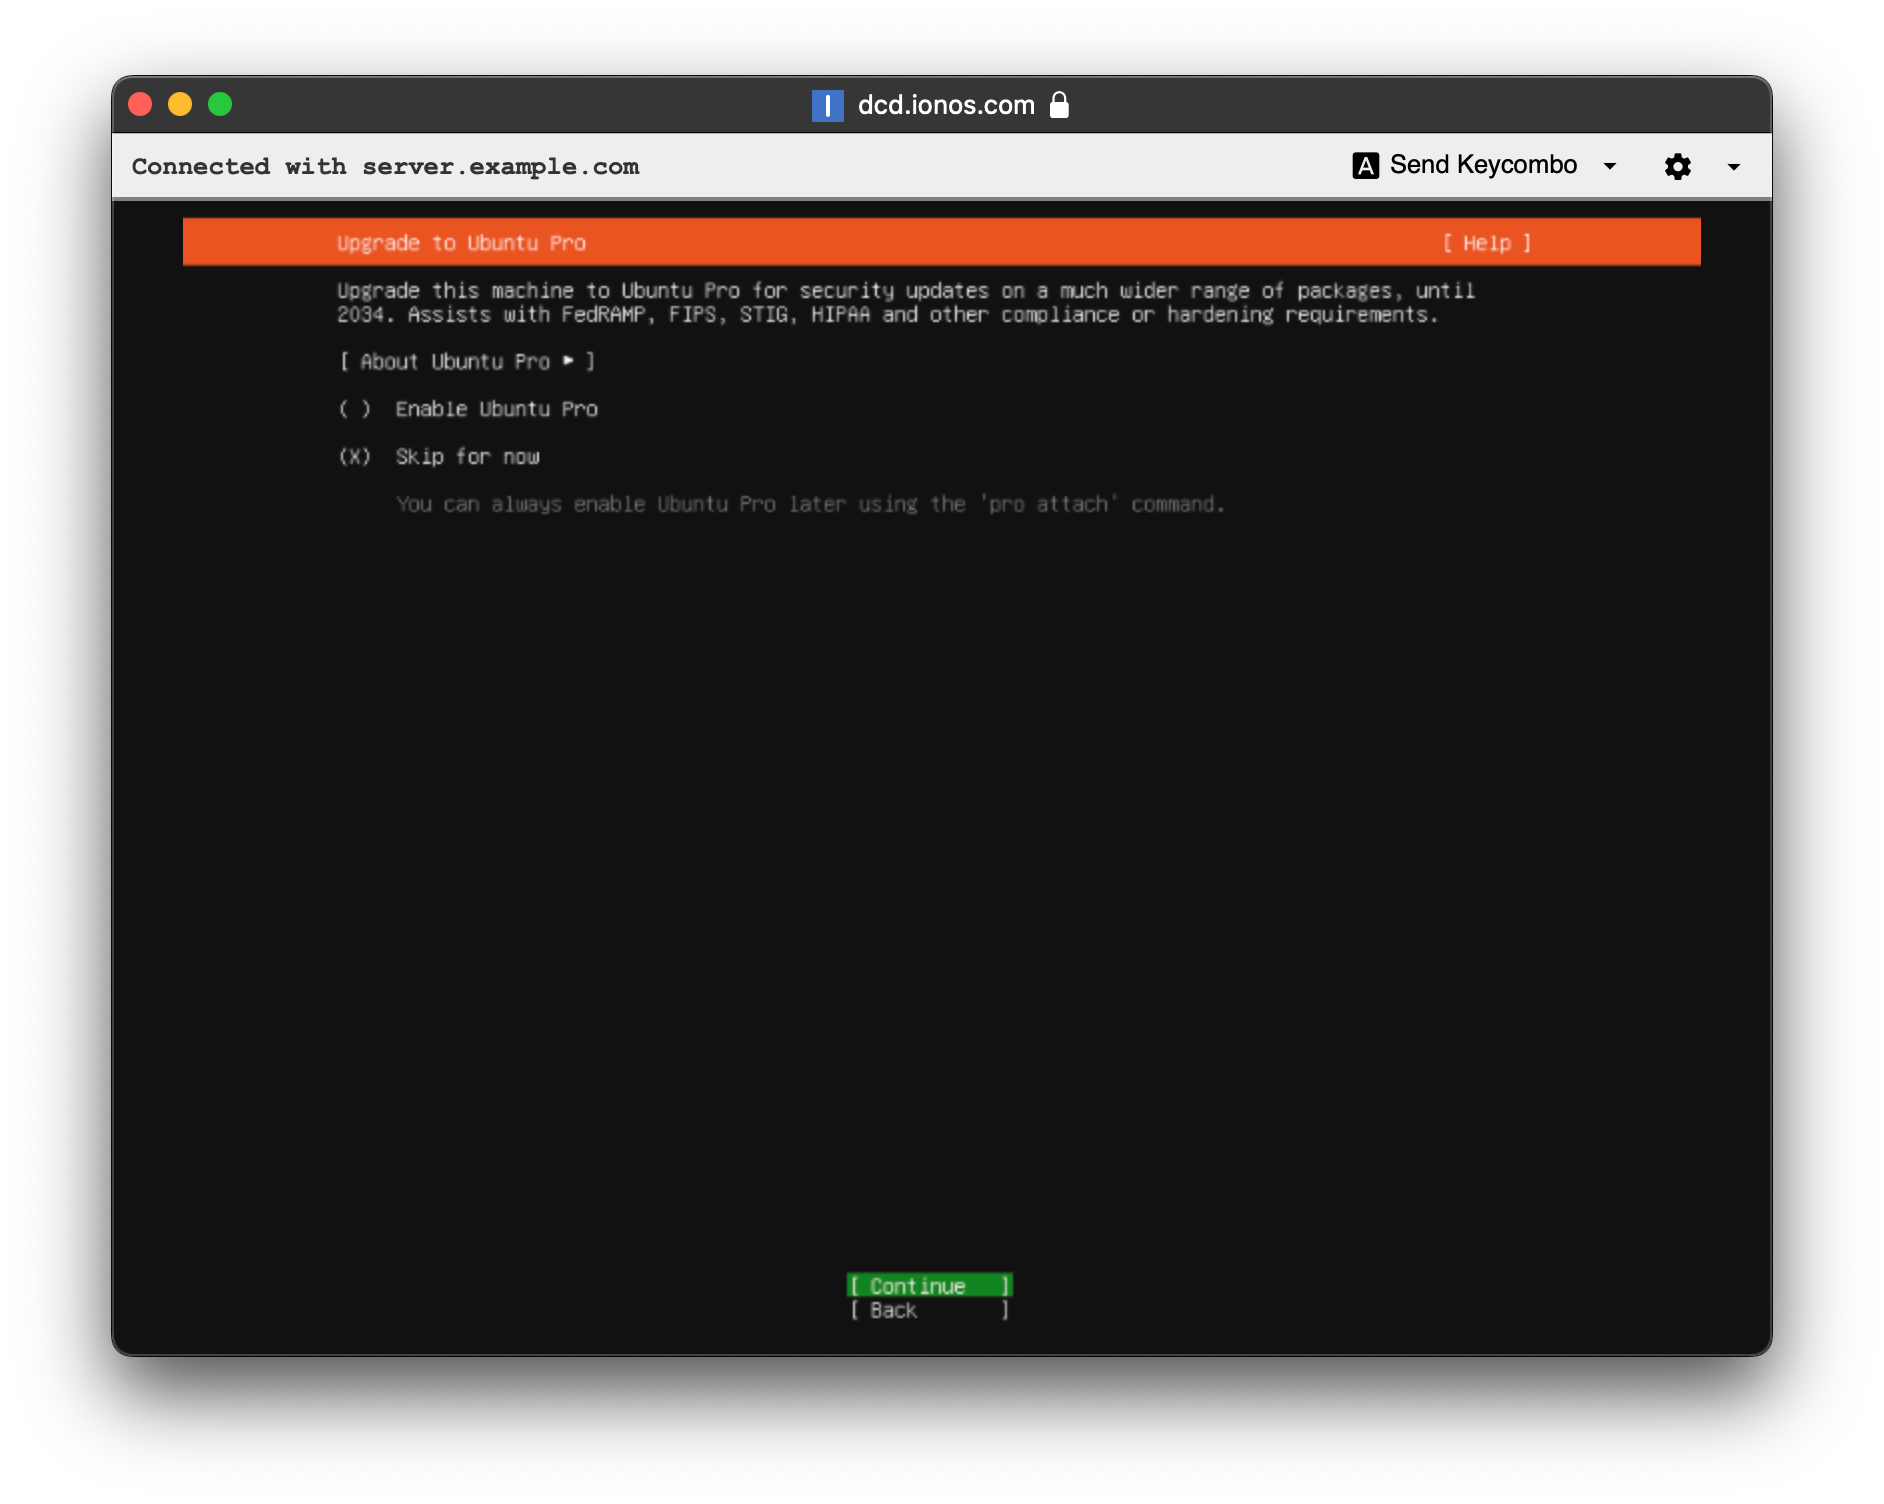
Choose "Install OpenSSH server" If you are lucky enough to already have a public SSH key available in GitHub, you can choose "Import SSH key."
If you want to add your key to GitHub, your can do so following this guide.
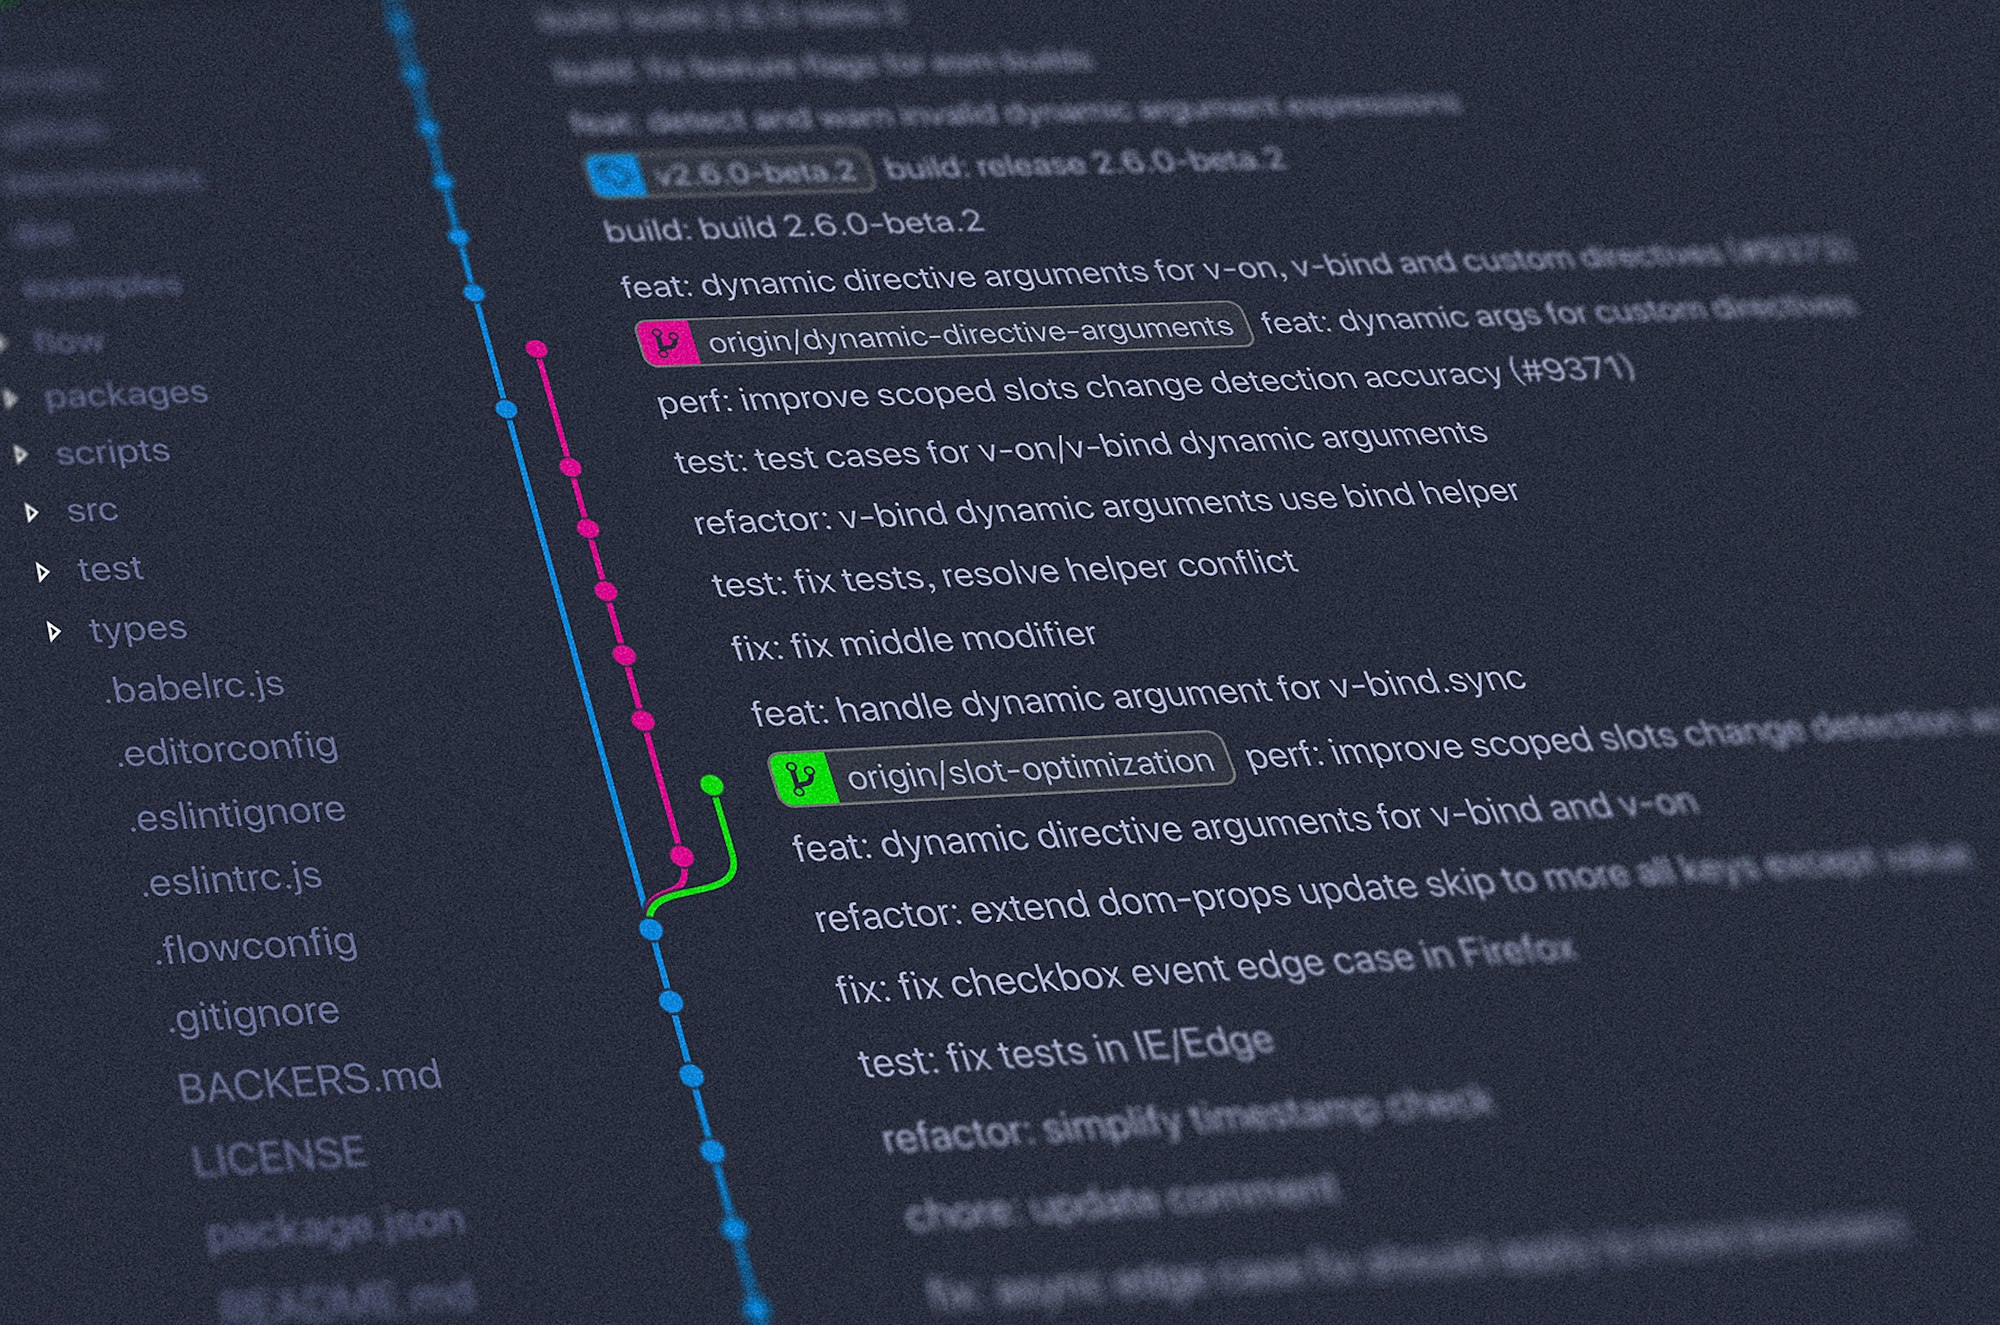
The next screen can be skipped. It will list the snap packages you can install to make the server be ready to perform some function immediately after install. For the purposes of this run-through, we are going to skip that.
In the final screen you will have the details about the install and update. The option to “Reboot Now” will appear when the install is complete.
Once you choose the option to reboot, you will have to modify the server in the IONOS Data Center Designer.
In the IONOS Data Center Designer
- Click on the server you created and click on “Storage”
- Then click on the drop down next to the DVD and click “Unmount Image.”
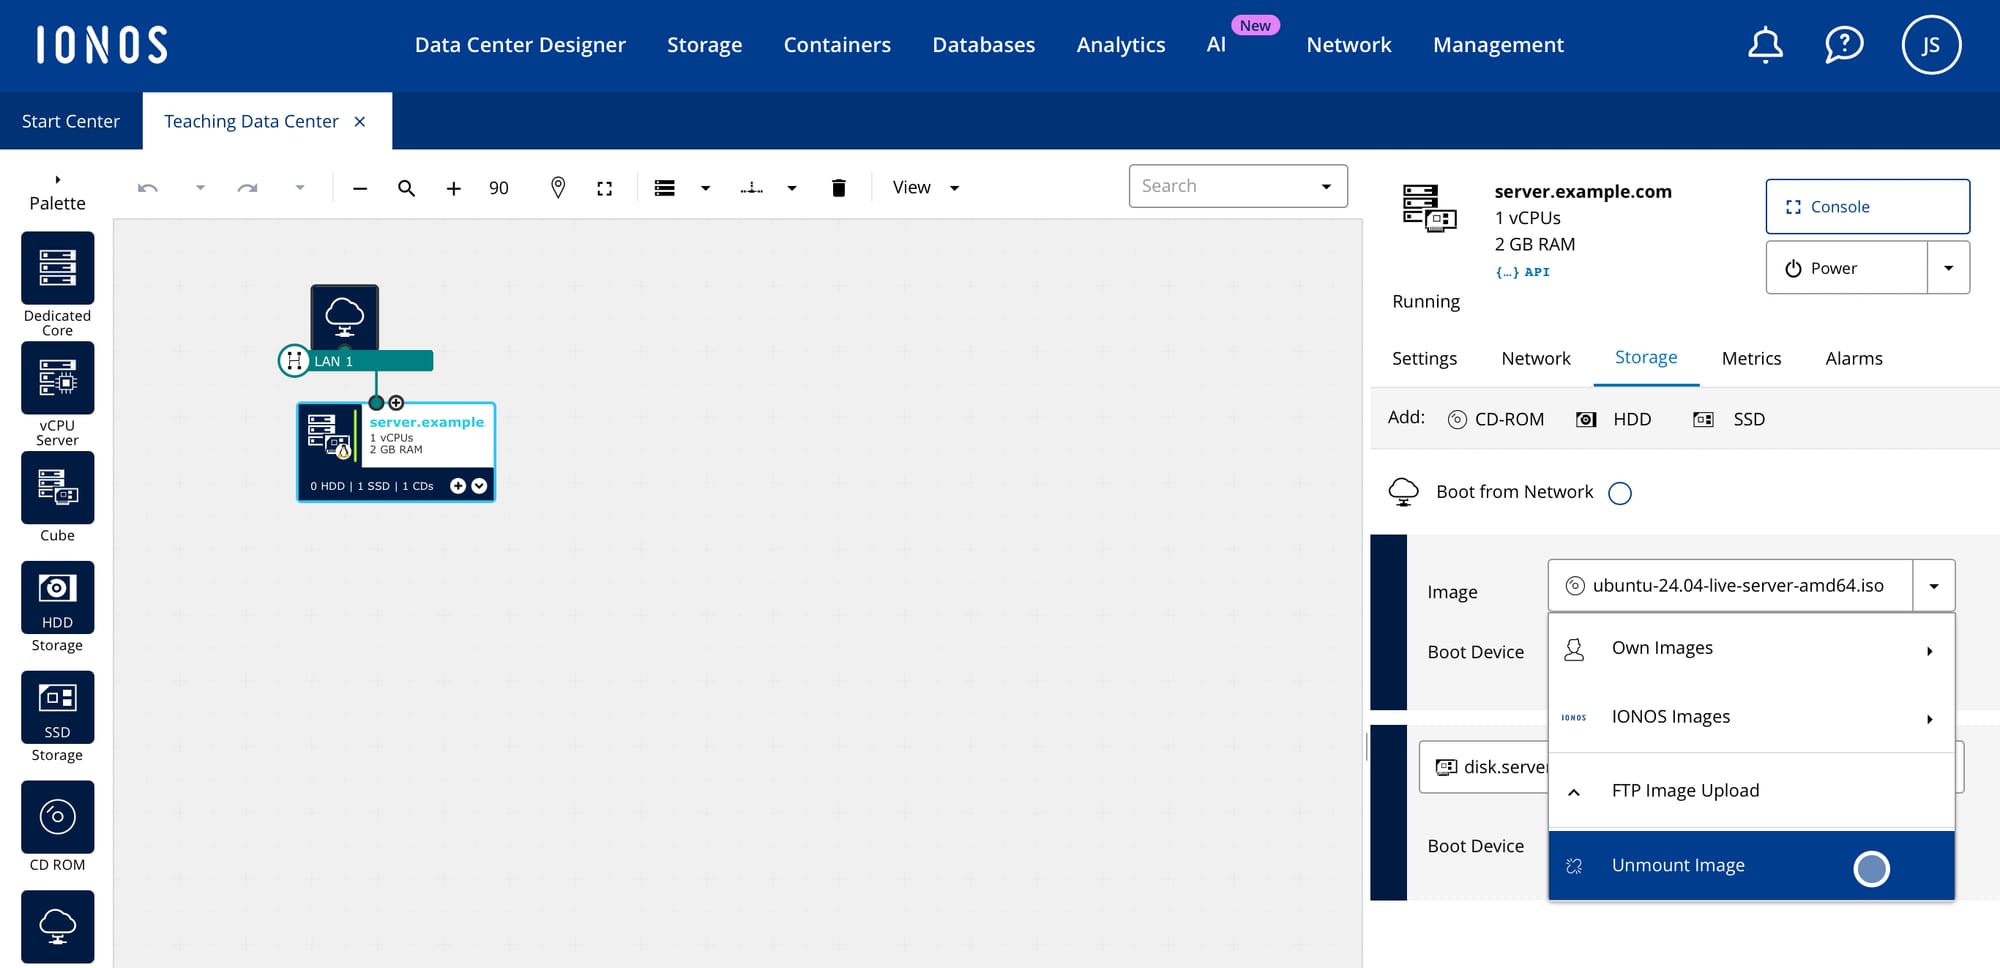
- Change the Boot Device to the hard drive.
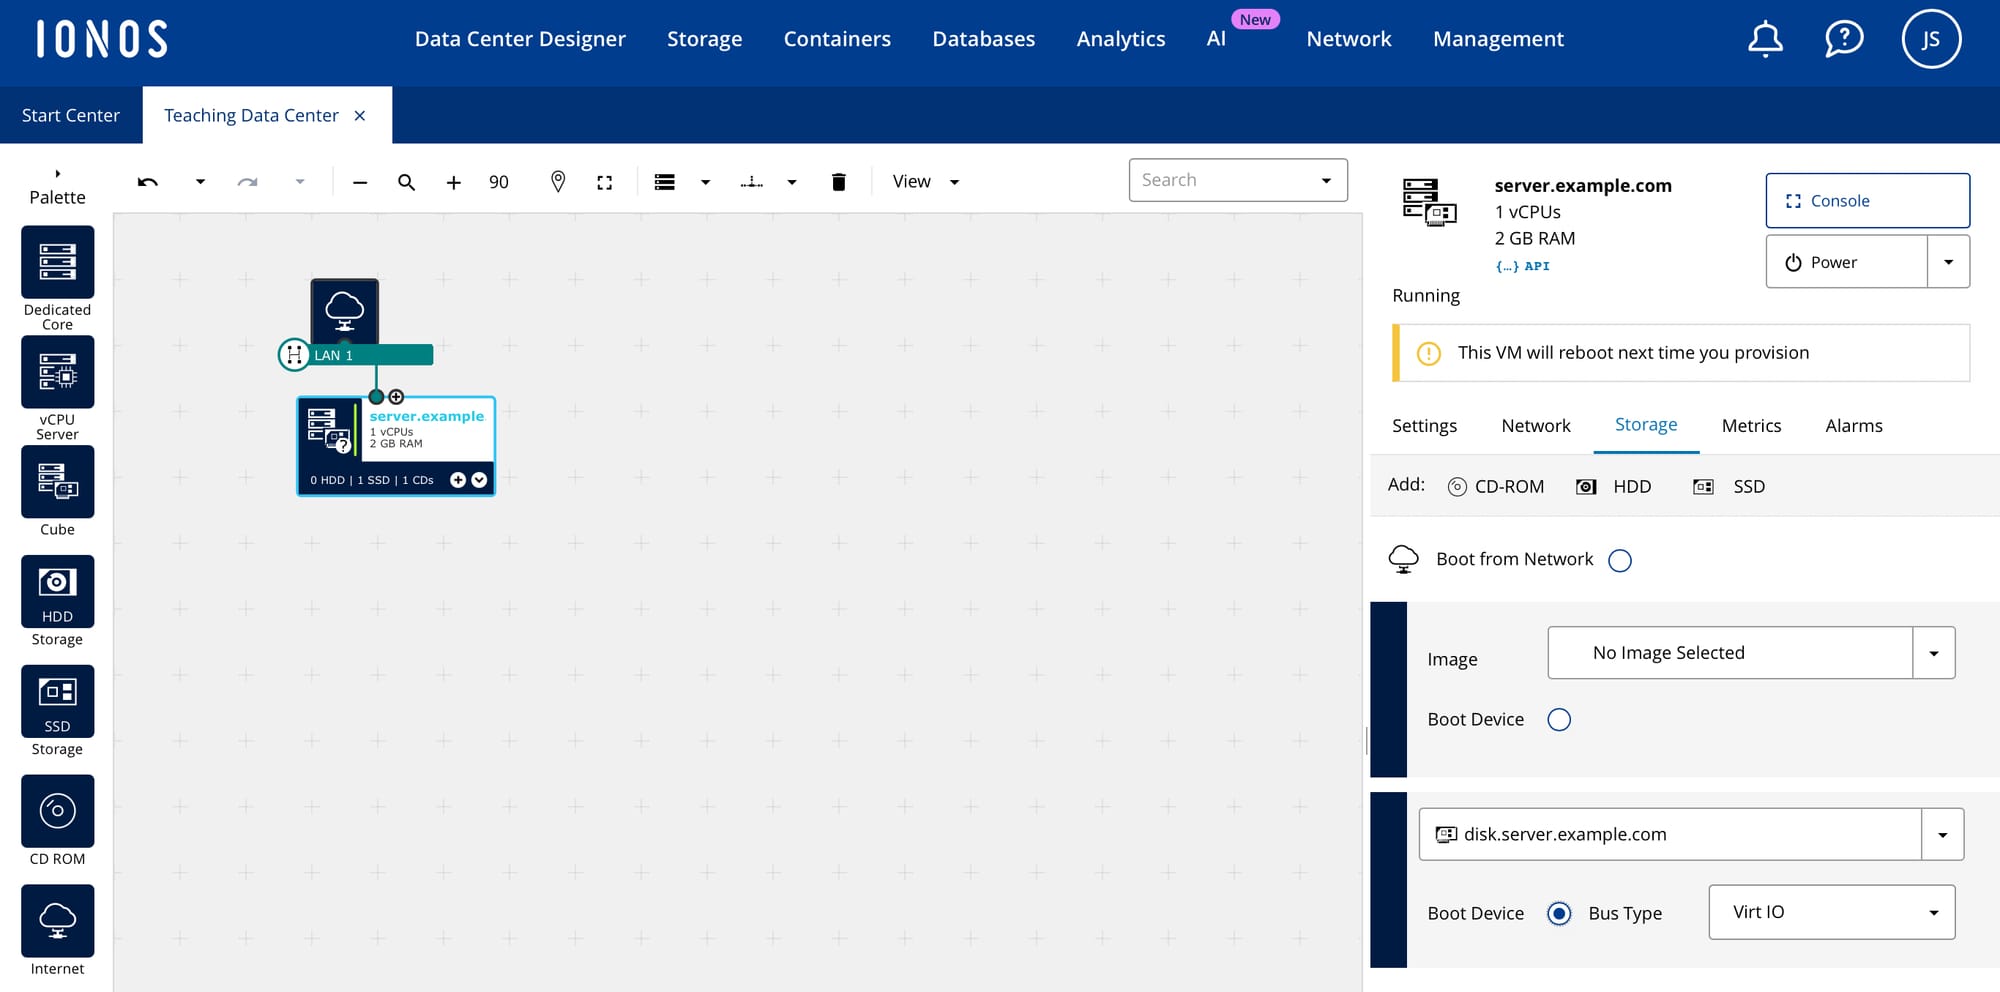
- Now click on “PROVISION CHANGES”
- You will need to click on “Confirm” and enter your password.
- Then click on “Resolve” and choose “Linux” and click “OK”
- Then click on “Provision Now”
The sever will now reboot.

