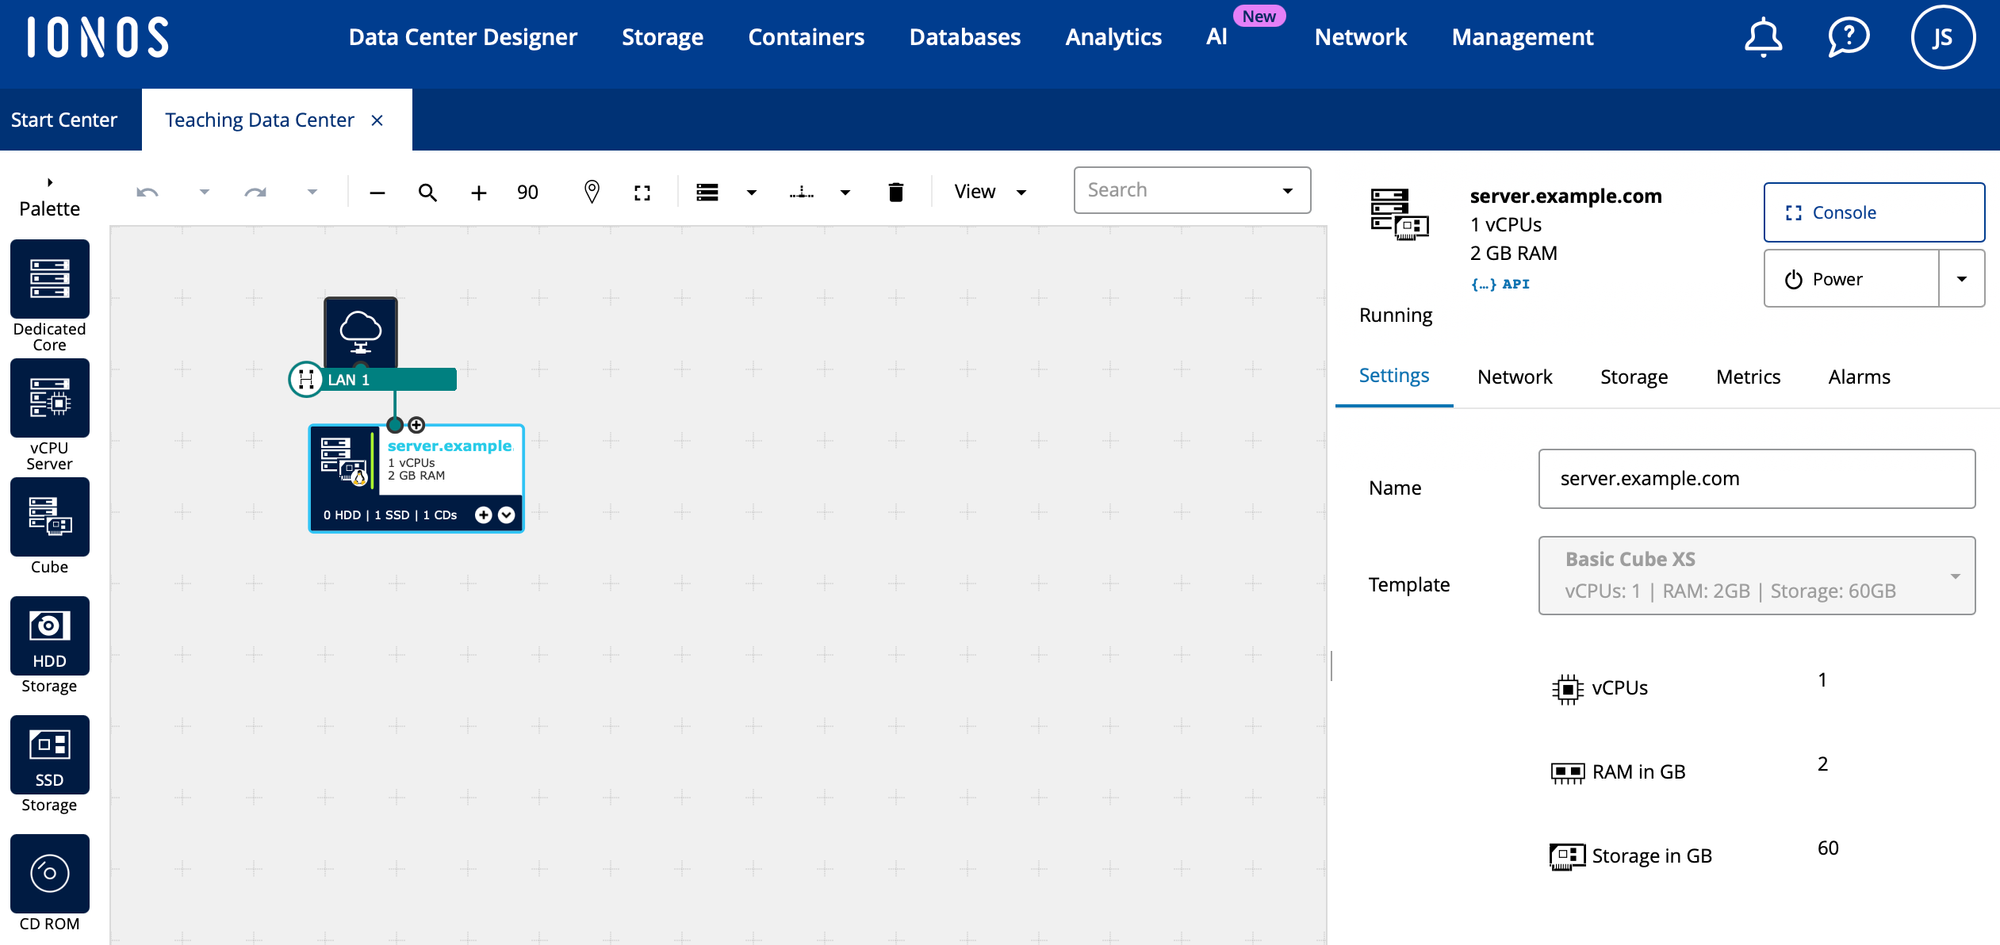
IONOS Data Center Designer
IONOS Data Center Design is how you can create your own data center with no hardware.
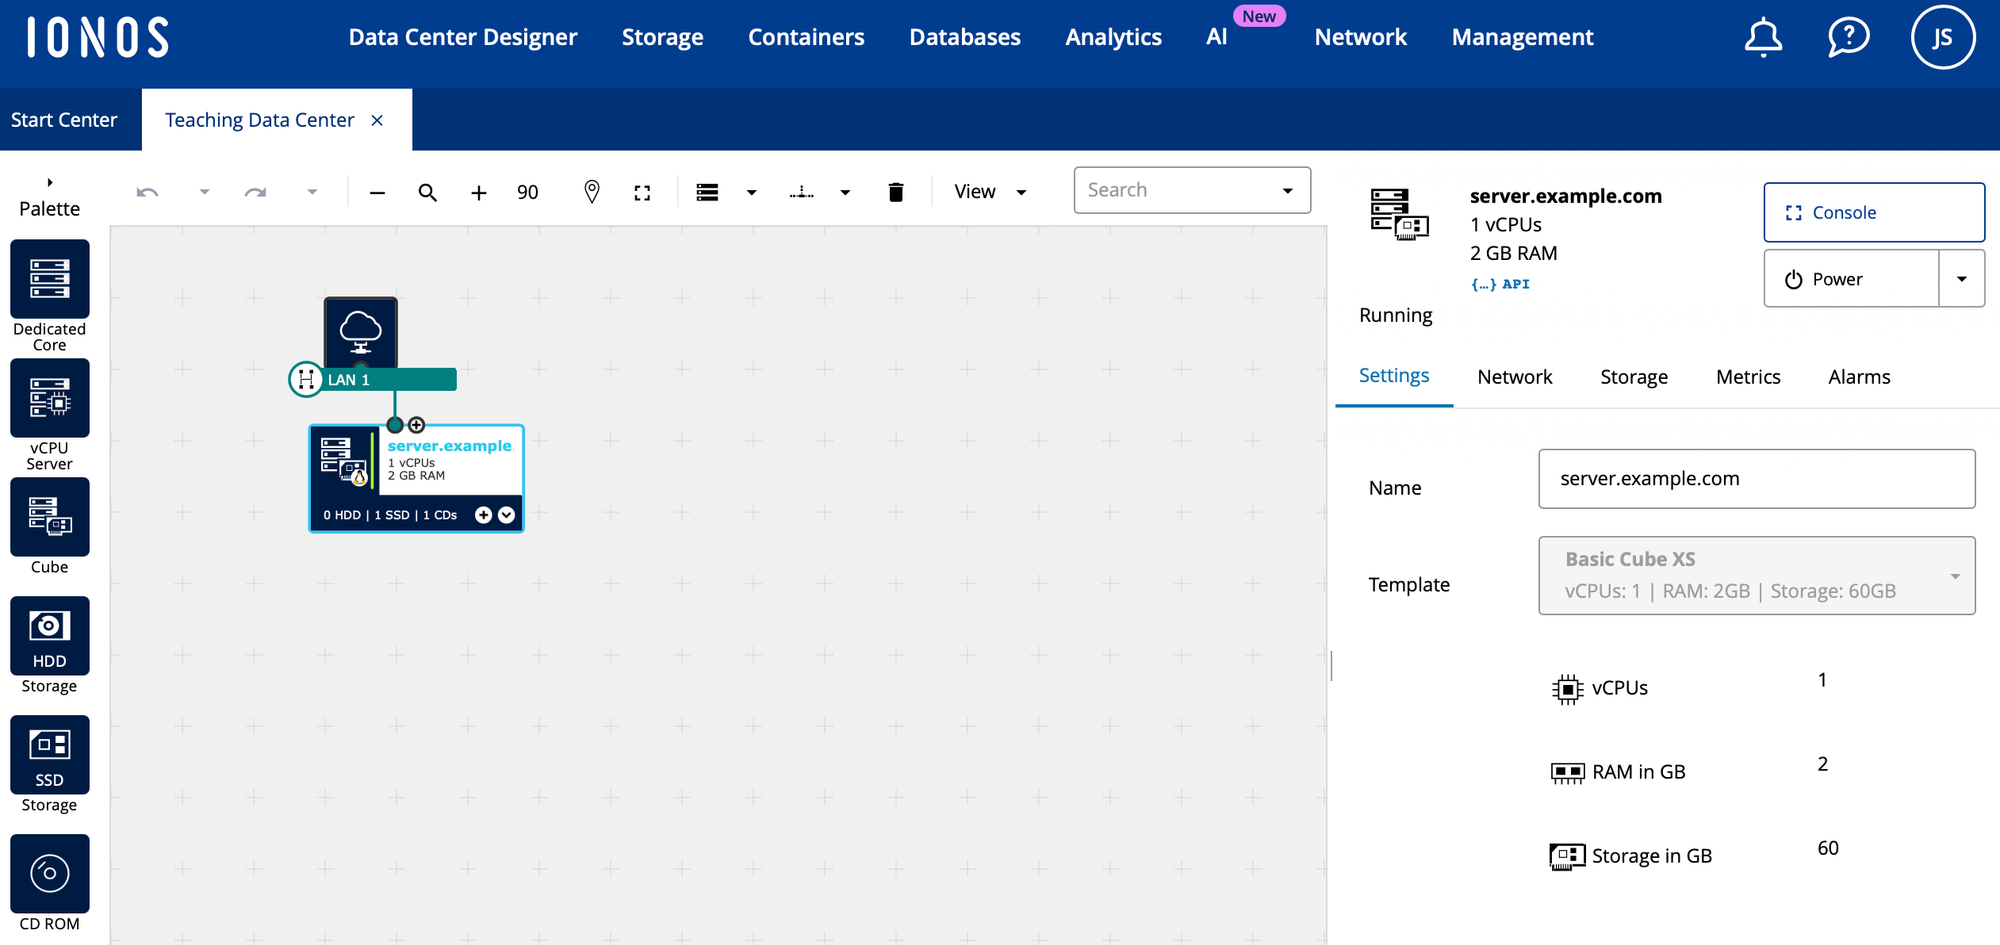
This is a guide on what to do to establish an Ubuntu server using IONOS Data Center Designer.
Setting up the Data Center
When you first get your account, you will need to create a data center to provision your resources.
- Under "My Virtual Data Centers" click "Create new"
- Name your data center
- Select the region for your data center.
- Click "Create Data Center."
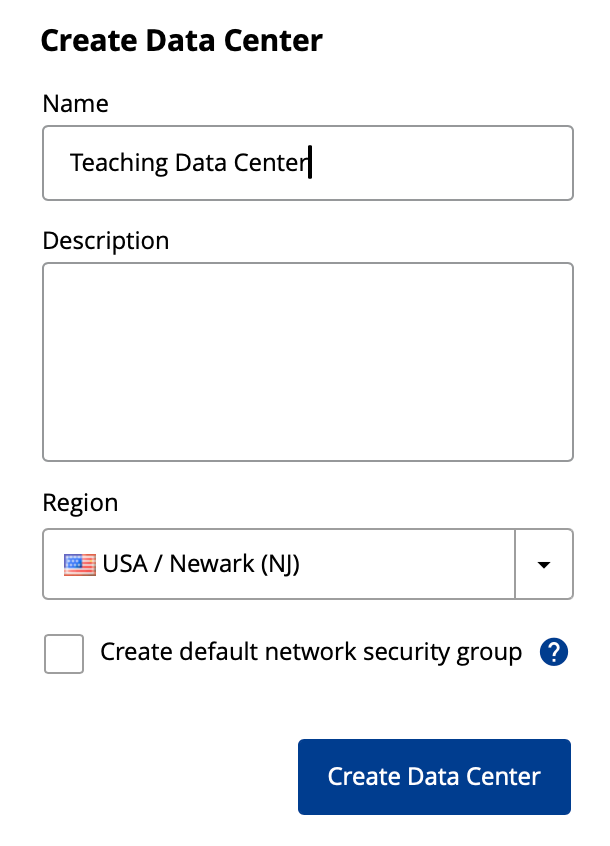
You're likely going to need to create only one data center. If you're doing this professionally, this is where you would name it the client's name.
Pick the region that you need for what you're doing. If you're doing this for educational purposes, choose the data center closest to you. You may want a specific region for other purposes. Please note that a good amount of the internet is geolocation based meaning you won't have access to the same websites in countries different than your own.
In this next screen you will get a flow chart screen where you can drag and drop elements.
Provision Virtual Private Server
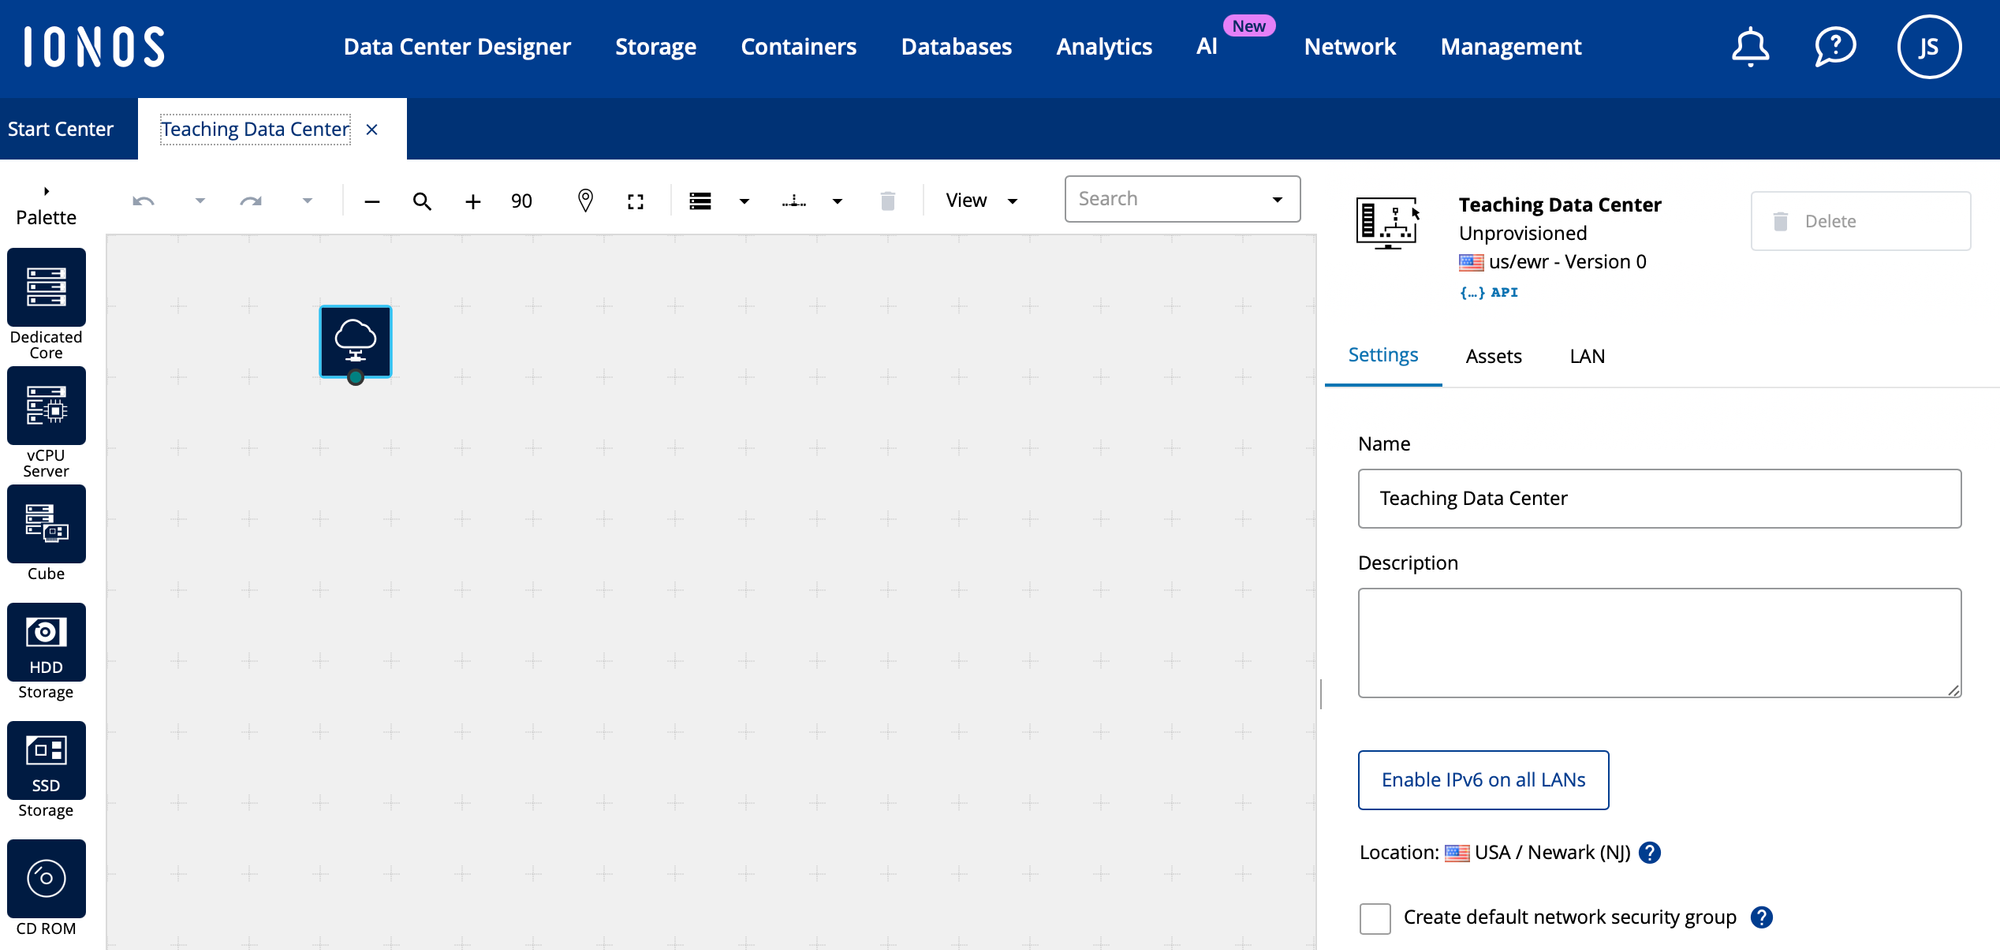
- Click on "Enable IPv6 on all LANs."
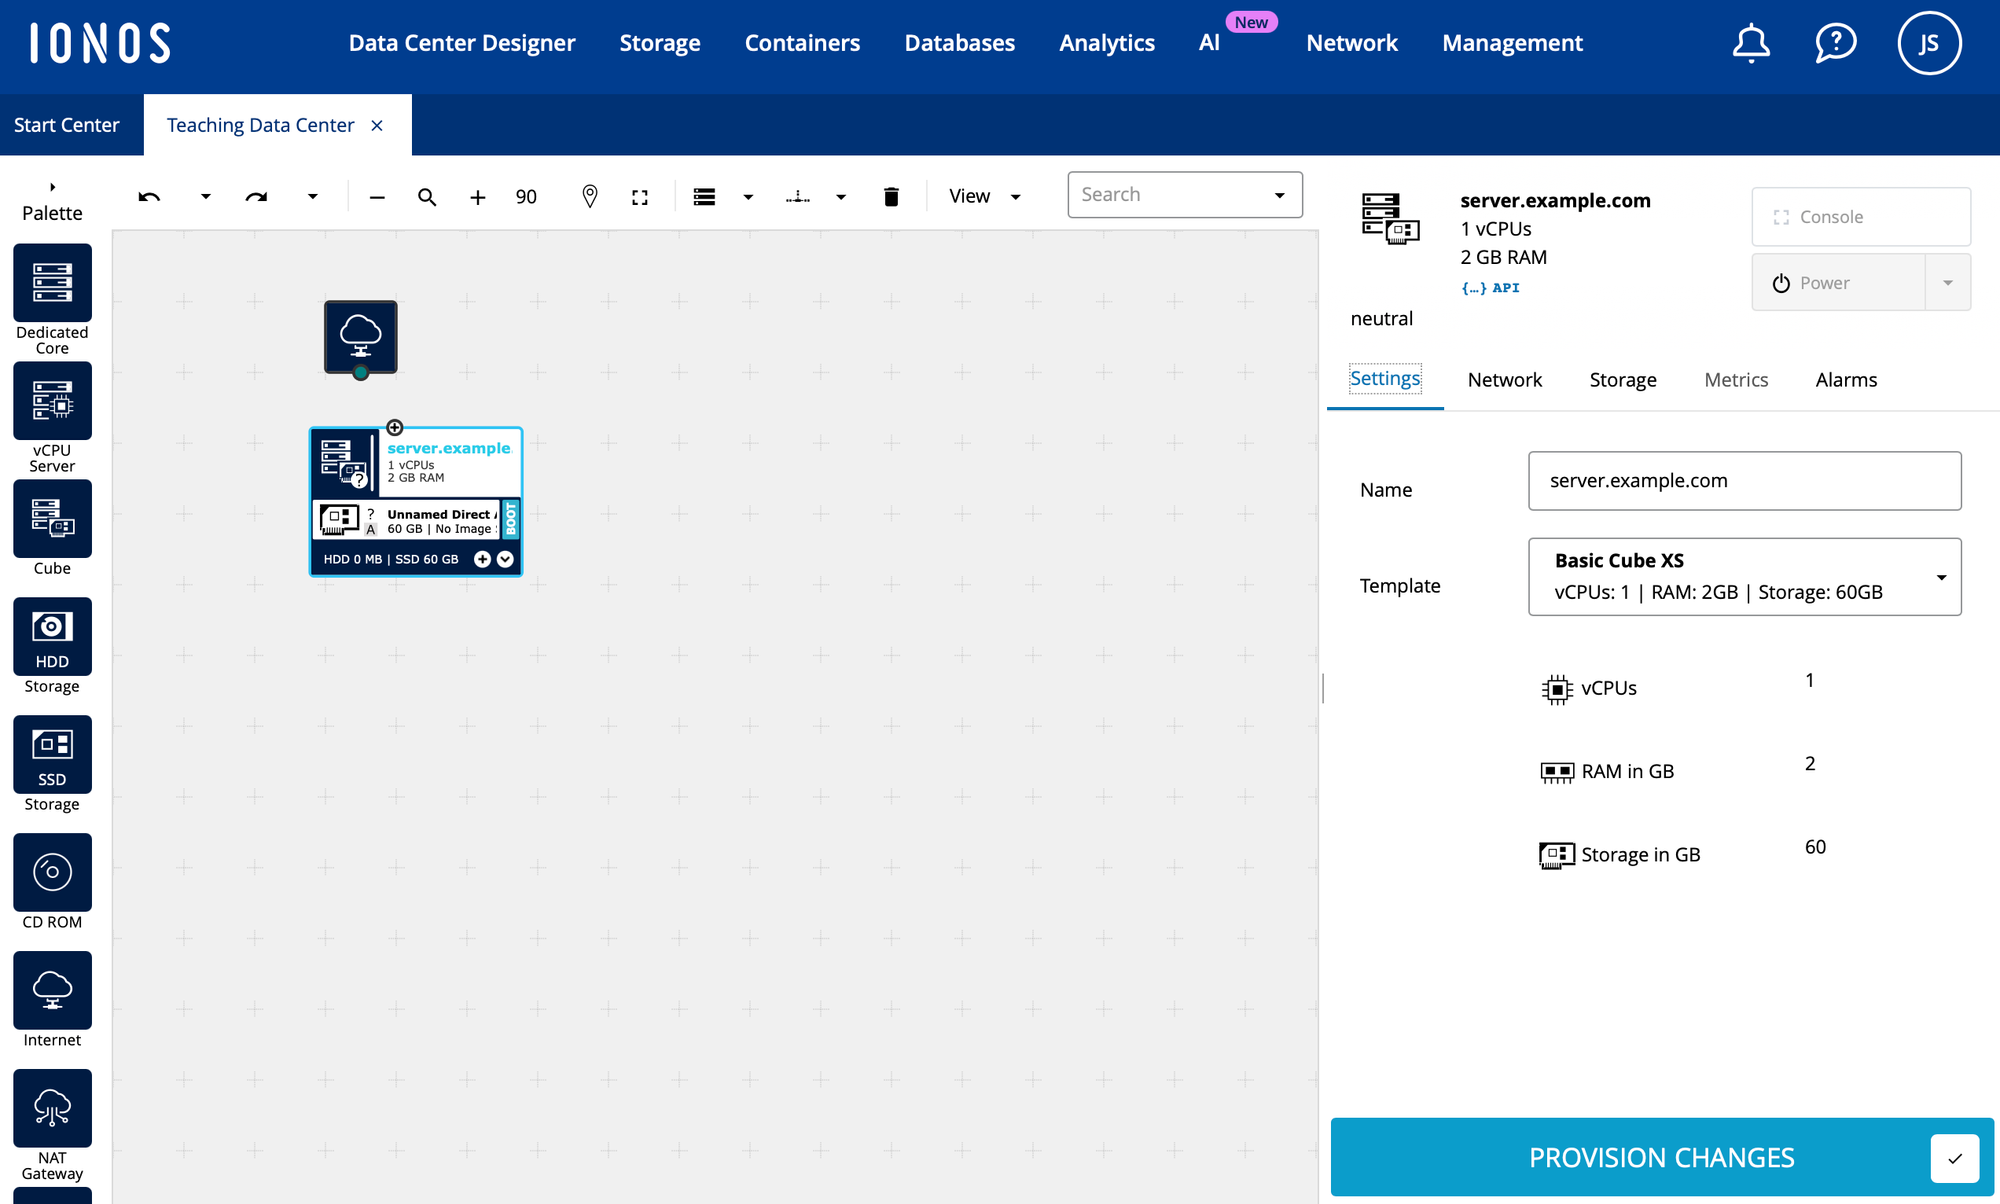
- Drag & Drop the "Cube" onto the flow chart.
- Name the server your fully qualified domain name.
- Leave it as Basic Cube XS
Provisioning Network
- Click on "Network"
- Click on "Add NIC"
- Click on the arrow Next to LAN2
- choose "LAN1"
- choose "Change NIC to LAN1"
- OK
- Name the NIC "Public Internet"
- Set "Firewall" to "Ingress"
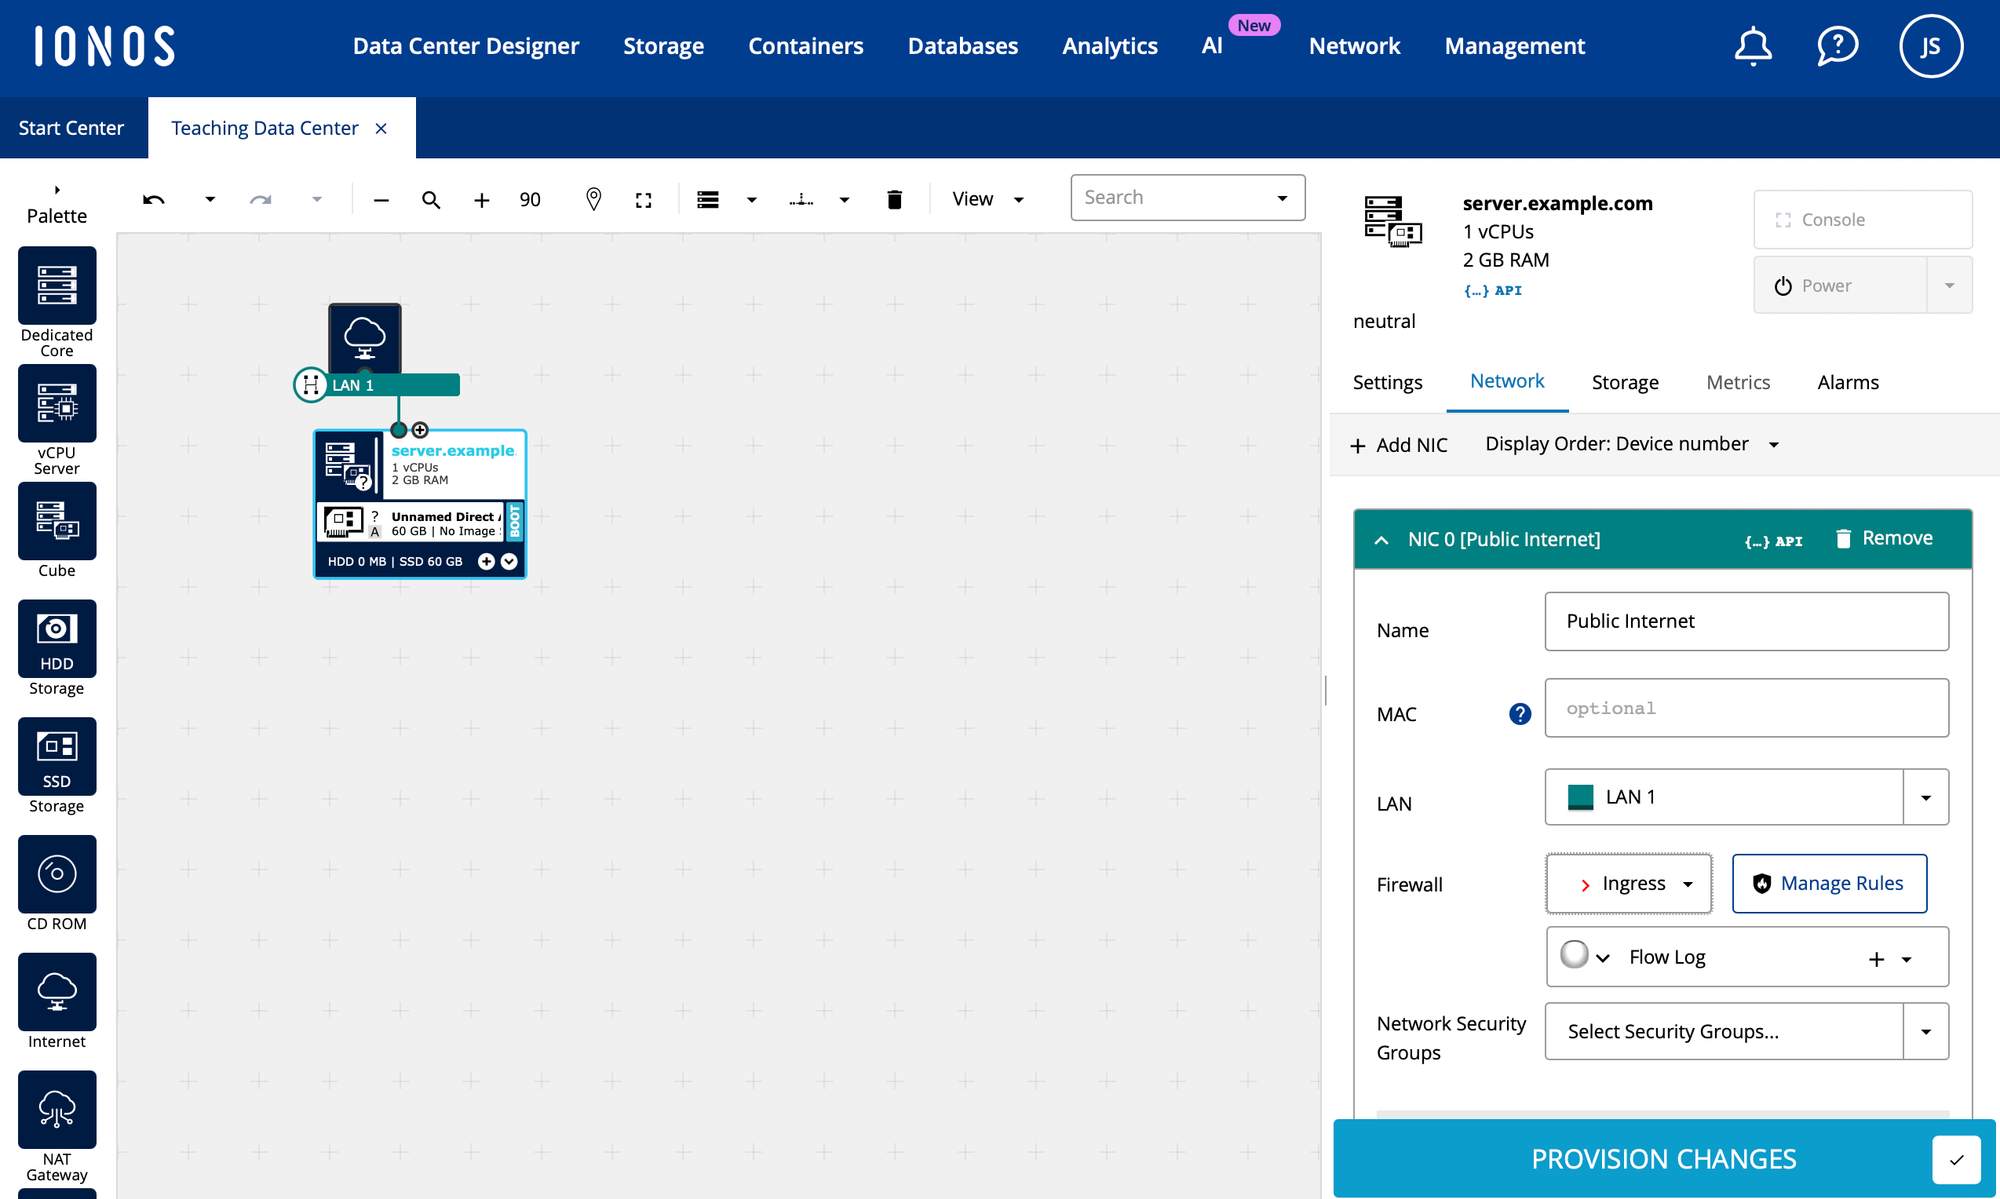
- Click on "Manage Rules"
- Click "Create Firewall Rule"
- Choose "Any Protocol"
- For the name enter "Home (v4)"
- enter you home IPv4 address in the "Source IP / CIDR" field.
- Choose "Any Protocol" again
- For the name enter "Home (v6)"
- Enter your home IPv6 network in the "Source IP / CIDR" field.
If you don't know your public IPv4 address or your IPv6 network, you can find it using this guide here:
- Click "Save"
Provision Disks
- Install Image
- Click "Storage"
- Next to "Add:" click "CD-ROM"
- Choose the drop down menu
- Choose "IONOS Images"
- Choose "ubuntu-24.04-live-server-amd64.iso"
- Check "Boot from Device."
- Click "Create CD-ROM Drive"
- Name Storage
- Click on "Unnamed Direct Attached Storage"
- Append the name "disk." to the fully qualified domain name. In our example of "server.example.com" we will name it "disk.server.example.com".
Provision Server
- Click "PROVISION CHANGES"
- click "Provision Now"
You will see it saying "retrieving jobs" then it will work on "server.example.com" and "disk.server.example.com". When it's complete, it will return with a message saying "Provisioning Complete."
- Click OK.
Now you can Install Ubuntu from the console.
- Click on the virtual private server you just created and click on "Console".
